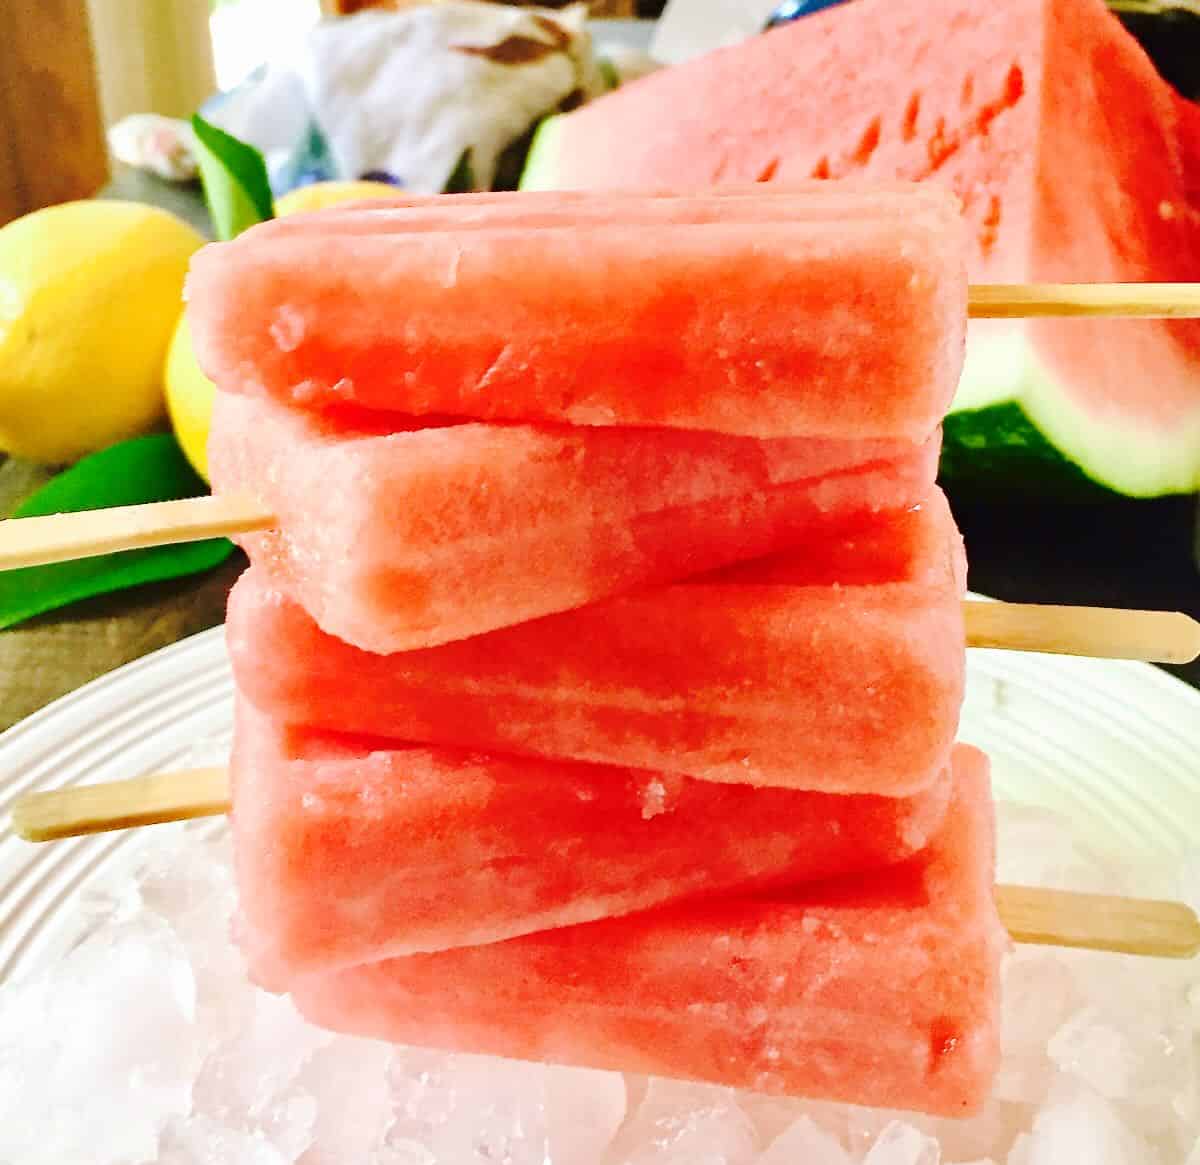
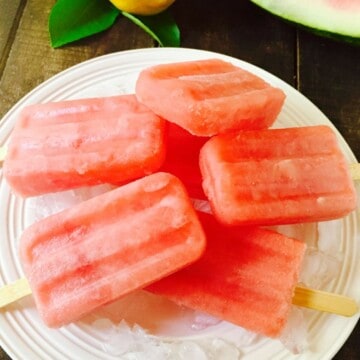
Watermelon Popsicles have to be the easiest recipe ever! With just two ingredients – fresh watermelon and frozen lemonade concentrate – and two quick steps, you can whip up a delicious and refreshing snack or dessert perfect for kids and adults alike.
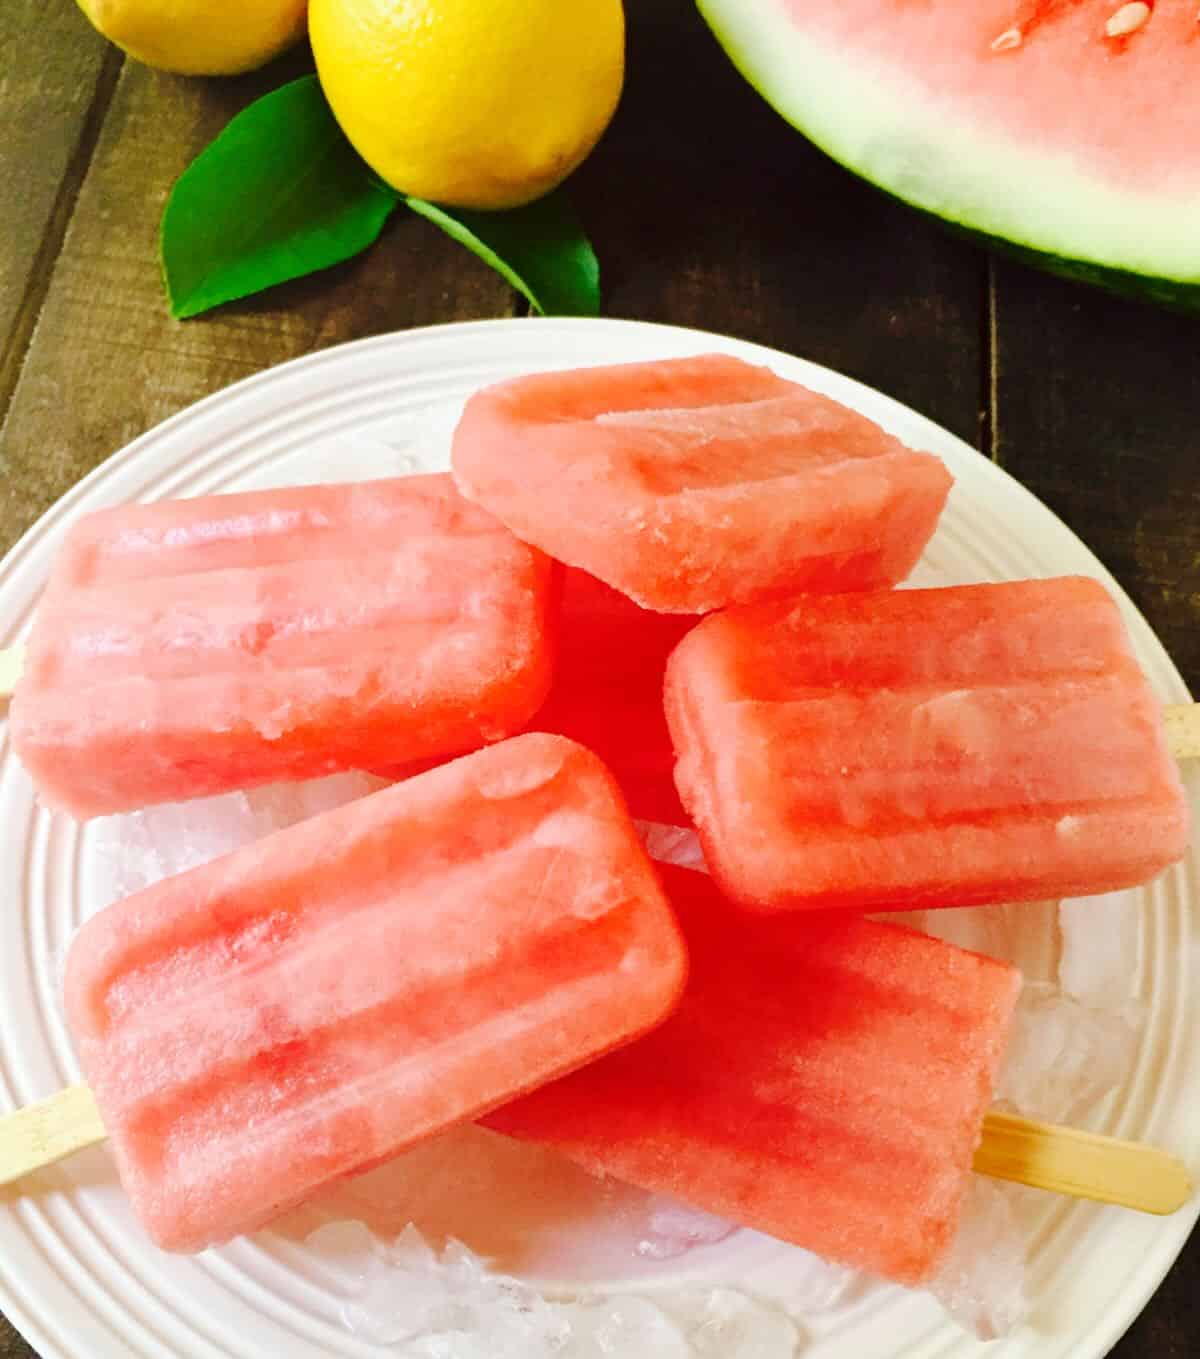
Coming in at only 85 calories, luscious watermelon popsicles are the perfect snack for pool parties, and like my Frozen Lemonade Pie and adult-only Strawberry Margarita Popsicle, they can also be served as a refreshing frozen dessert at backyard barbecues or casual summer suppers!
You might know these frozen watermelon and lemonade treats as watermelon lollies or simply watermelon pops! But no matter the name, one thing is certain: they bring together the perfect harmony of sweet watermelon and tangy lemonade flavors. So don’t wait any longer – whip up a batch today!
Jump to:
- Why you will love this recipe:
- Ingredients: what you will need:
- How to make watermelon popsicles at home:
- Recipe variations and substitutions:
- What kind of popsicle mold is best:
- What’s the difference between popsicles, ice pops, and ice lollies:
- What can I use to make popsicles if I don’t have a mold:
- How to choose the perfect watermelon:
- Recipe FAQs:
- Expert tips and tricks:
- More easy summer desserts:
- 📋 Recipe:
Why you will love this recipe:
- With only two ingredients and two steps, these DIY watermelon popsicles are the epitome of simplicity and convenience and take only minutes to prepare.
- You can create a healthier alternative to store-bought popsicles that may contain artificial flavors, colors, and added sugars.
- Making homemade popsicles can be a fun and easy way to involve kids in the kitchen and encourage them to enjoy healthier treats.
Ingredients: what you will need:
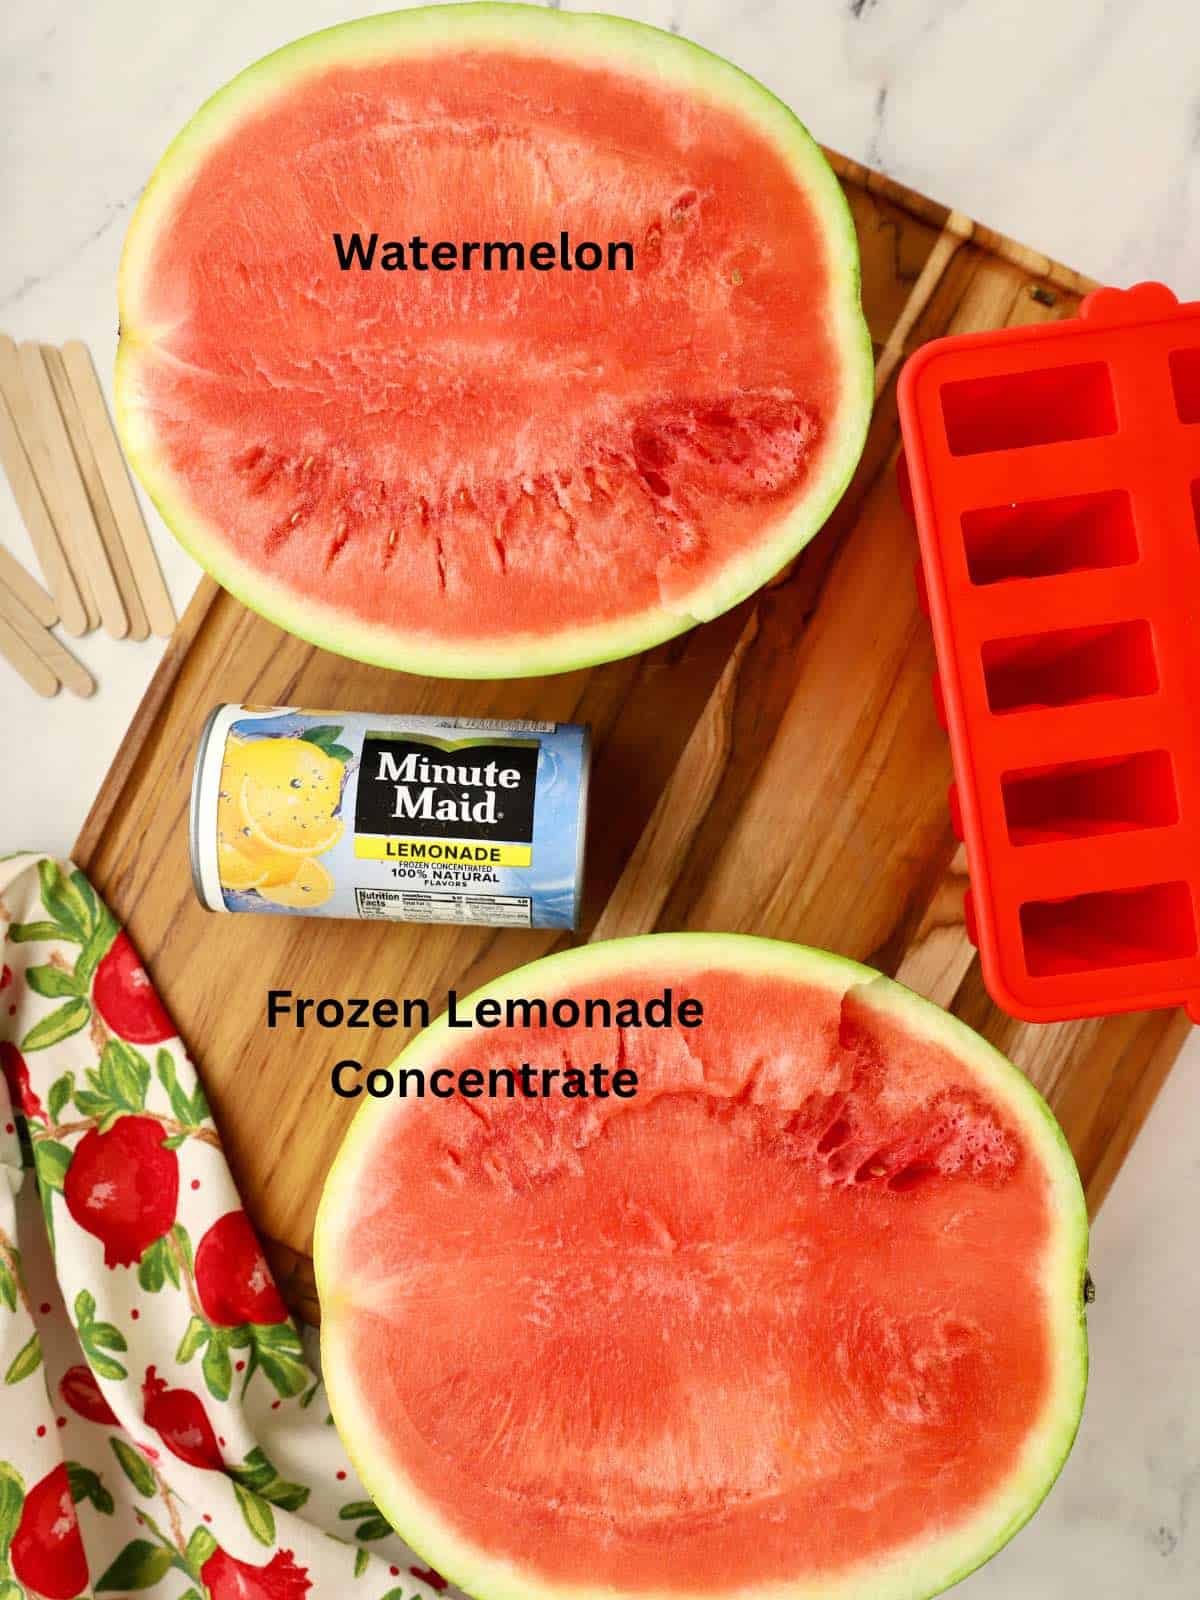
- Watermelon – a beloved summertime fruit with a juicy, naturally sweet taste, provides the main flavor and is the star of this recipe.
- Frozen Lemonade Concentrate – adds a tangy and citrusy element to the popsicles. It enhances the overall flavor by providing a tartness that balances the sweetness of the watermelon.
(Complete measurements are listed in the recipe below.)
How to make watermelon popsicles at home:
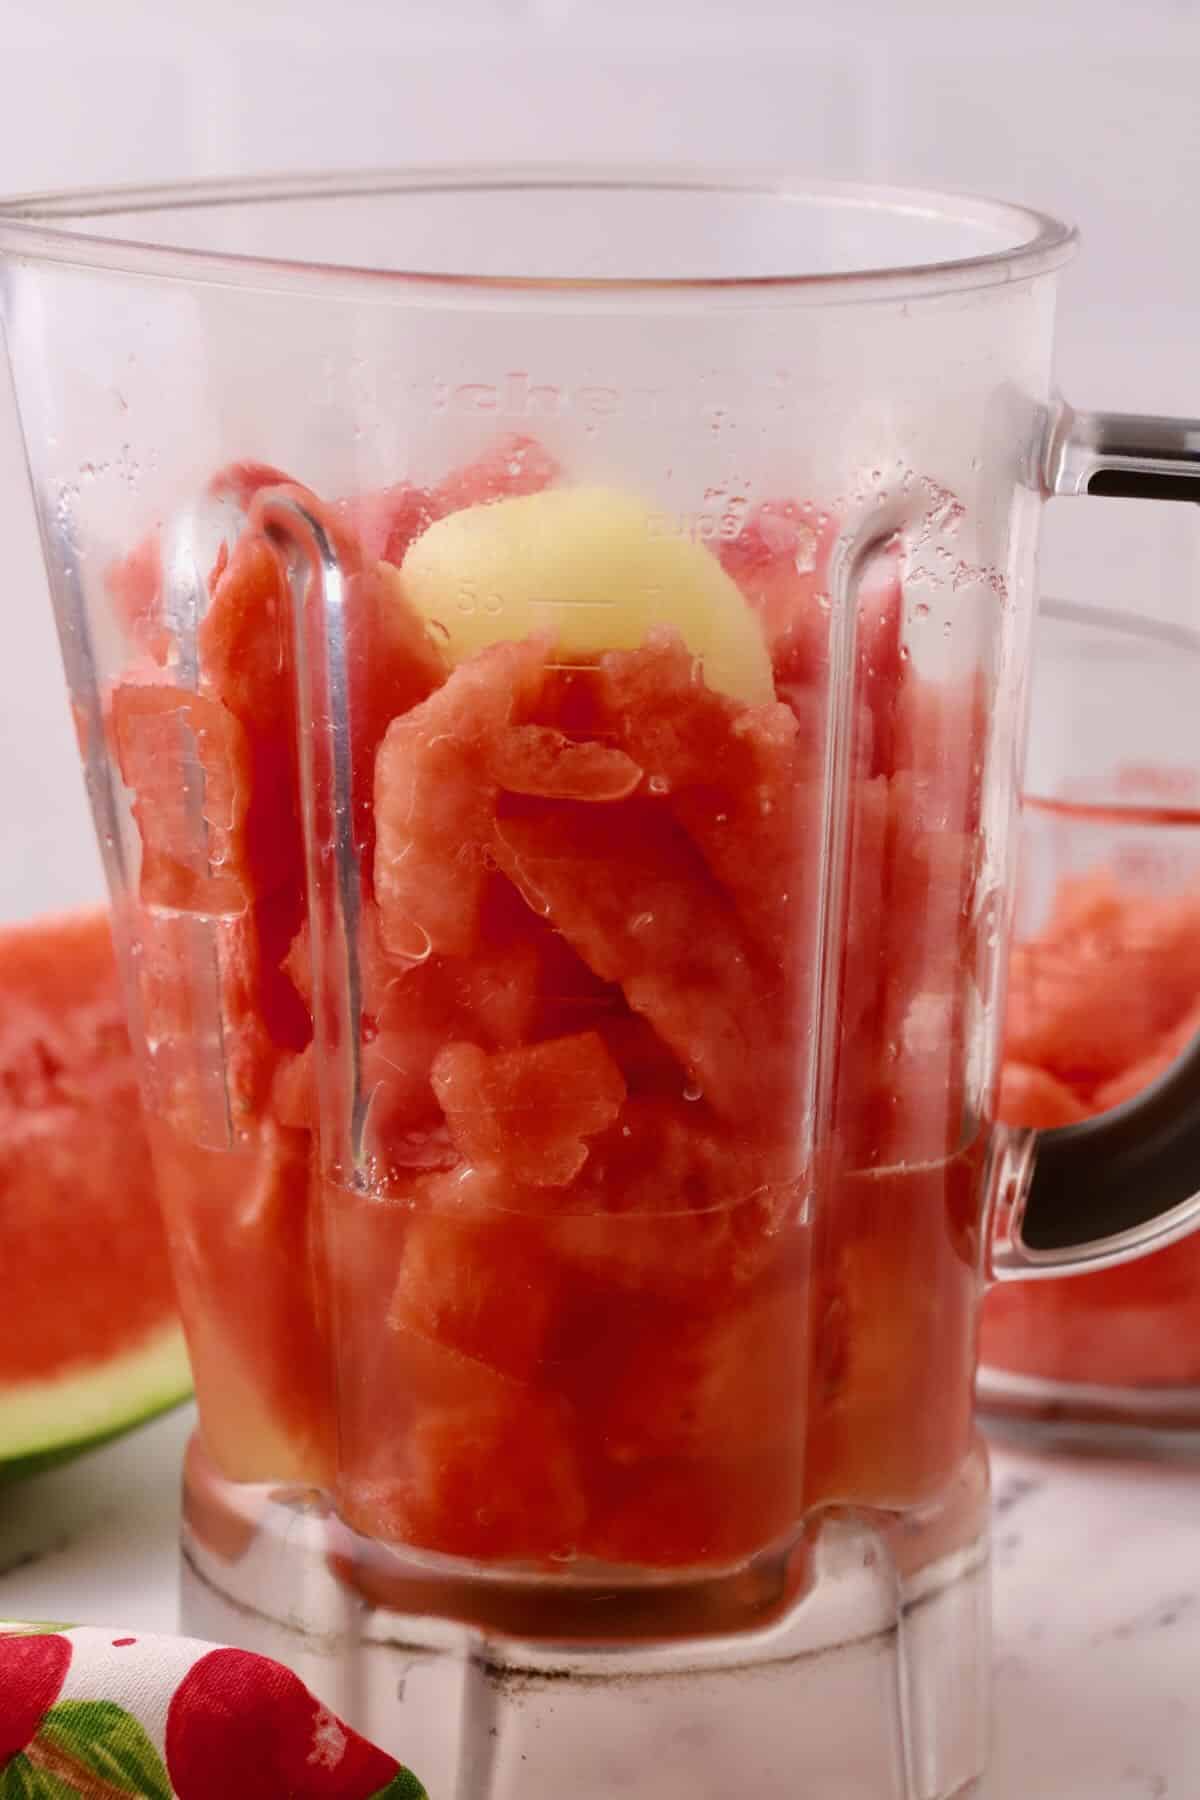
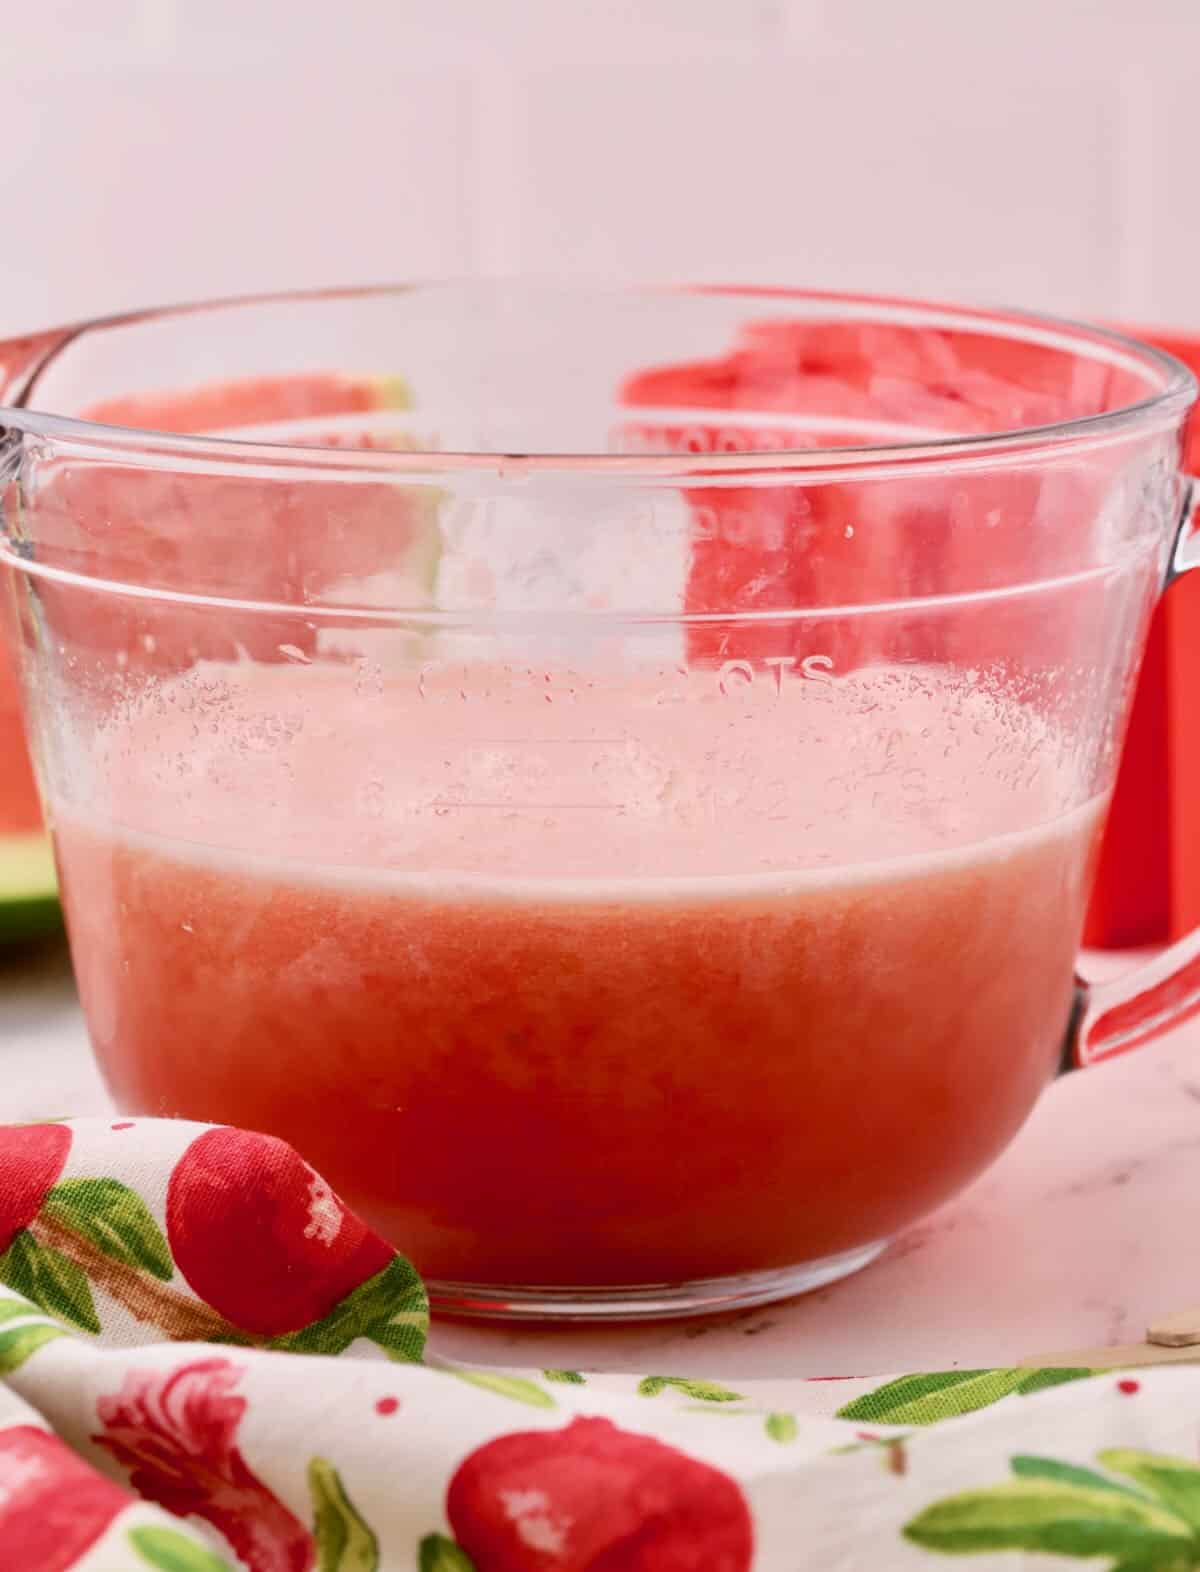
- Place the watermelon chunks and frozen lemonade concentrate in a blender or food processor. Process for 10-20 seconds or until the mixture is smooth. Pour this mixture through a wire mesh strainer to catch any seeds or solids.
- Fill up your molds, leaving about a quarter of an inch of room at the top because the mixture will expand when frozen. Insert the sticks and place the molds on a flat surface in the freezer for at least four hours.
Remove from the mold and serve.
Recipe variations and substitutions:
- Puree fresh strawberries, blueberries, and raspberries, either separately or together with frozen limeade, to make fruit popsicles.
- Combine pineapple, mango, and coconut milk for a refreshing tropical flavor.
- Add a few mint leaves and puree with the watermelon for a cooling and hydrating popsicle.
- Combine frozen pineapple and mint for a delightful change of pace.
- Make patriotic red, white, and blue popsicles by pureeing blueberries and raspberries separately with a bit of water to thin out the puree. Add one layer at a time to the mold, and freeze before adding another layer, with a layer of Greek yogurt between each blue and red layer.
- Make peach popsicles by combining fresh peaches, sugar, and lemon juice.
What kind of popsicle mold is best:
Popsicle molds are used to make homemade popsicles. They are made in different shapes, and sizes from various materials, including silicone, plastic, and stainless steel.
- Frozen popsicles are easy to pop out of silicone molds, but the molds are unstable and difficult to move around when filled with liquid unless they are on a rigid flat surface.
- Plastic molds are durable, affordable, and widely available. They often come with reusable sticks.
- Stainless steel molds are more expensive but durable and will last longer than silicone or plastic molds. They also can be washed in the dishwasher.
What’s the difference between popsicles, ice pops, and ice lollies:
The terms “popsicle,” “ice pop,” and “ice lollie” are often used interchangeably to refer to frozen treats on a stick that are mostly fruit flavored.
- Popsicle is a registered brand trademark synonymous with frozen treats on a stick in the United States. The term is often used generically to refer to any frozen treat of this kind, regardless of the actual brand.
- Ice pop and ice lollie is a more generic term used in various parts of the world. It refers to the same concept as a frozen treat on a stick.
What can I use to make popsicles if I don’t have a mold:
- Small paper cups can be a great substitute for popsicle molds. Fill the cups with the popsicle mixture, cover them with aluminum foil or plastic wrap, and insert popsicle sticks through the covering into the mixture. Place the cups in the freezer until the popsicles are fully frozen.
- Ice cube trays can be used as makeshift popsicle molds. Fill each compartment with your popsicle mixture and cover the tray with plastic wrap. Insert popsicle sticks or toothpicks into each compartment, ensuring they stand upright. Once frozen, gently remove the popsicles from the tray.
- Muffin Pans: Small muffin pans can be used as popsicle molds. Pour the popsicle mixture into the containers, cover them with plastic wrap or foil, and insert popsicle sticks. After freezing, remove the popsicles by briefly dipping the container in warm water to loosen them.
How to choose the perfect watermelon:
- Check for a yellow or cream-colored spot on one side of the watermelon. This spot is known as the “field spot” and indicates where the watermelon rested on the ground while growing. A creamy yellow spot indicates ripeness.
- Look at the stem, it should be dried out and brown. This indicates that the watermelon ripened on the vine. Avoid watermelons with a green stem, they were picked before they were ripe.
- Look at the blossom end at the opposite end from the stem. Choose the watermelon that has a larger brown spot at the blossom end. When you push it, it should be firm with just a tiny bit of give. This is another indication of ripeness and sweetness. If it feels mushy when you push it, it’s overripe.
Recipe FAQs:
Not enough sugar or sweetener in the fruit puree can lead to icy popsicles. Sugar acts as a natural anti-freeze and helps inhibit large ice crystal formation.
If the popsicle mixture has a high water content, it is more prone to forming ice crystals. Consider reducing the amount of water or juice and increasing the proportion of pureed fruit.
It depends on several factors, but as a general guideline, most popsicles take approximately four to six hours to freeze completely.
Take the popsicle mold out of the freezer and let it sit at room temperature for a few minutes. Dip the bottom of the mold into warm water for three to four seconds, or wrap a warm towel around the bottom of the mold.
Once you feel the popsicles loosen, gently tug the sticks or handles to pull them out of the mold. If they don’t come out easily, dip the mold in the warm water again for a few seconds
Homemade popsicles can typically be stored in the freezer for about two to three months.
Properly packaging the popsicles can help prolong their storage life. Wrap each popsicle individually in plastic wrap or place them in an airtight container or freezer bag to prevent freezer burn and maintain their freshness.
Expert tips and tricks:
To ensure your homemade watermelon popsicles turn out perfectly every time, here are some tips to keep in mind:
I used a silicone popsicle mold with ten three-ounce cups. This recipe makes approximately five cups or 40 ounces of watermelon lemonade mixture, so I had a bit left over to make a few extras. The size of your mold cups will determine how many popsicles this recipe will yield.
To easily fill your molds without any mess, it helps to use a small funnel.
To ensure a smooth texture and consistent flavor, thoroughly blend or puree the ingredients before pouring them into the molds.
If your popsicle mold requires inserting sticks, ensure the sticks are centered and secured in the designated slots or holes for molds with attached lids.
If using alternative molds, cover them with foil or plastic wrap and insert the sticks through the covering into the mixture. This will help keep the sticks in place and ensure they freeze straight.
If using silicone molds or alternative molds such as paper cups, ice cube trays, or muffin tins, use a tray or baking sheet to keep them stable. Ensure the molds are level to prevent the mixture from spilling or freezing at an angle.
Once removed from the molds, store the popsicles in a freezer-safe container or individually wrap them in plastic wrap for the best results. This prevents freezer burn and helps maintain keep them fresh.
More easy summer desserts:
For more recipes or menu ideas, check out all of my dessert recipes here.
⭐ ⭐ ⭐⭐⭐ If you make this dish, please leave a comment and give this recipe a star rating. I would love to know how you liked it!
Thank you for visiting Grits and Pinecones, I hope you come back soon!
📋 Recipe:
Want to Save This Recipe?
Enter your email & I’ll send it to your inbox. Plus, get great new recipes from me every week!
By submitting this form, you consent to receive emails from Grits and Pinecones.
Easy Watermelon Popsicles Recipe – Two Ingredients
Equipment
- popsicle mold
- popsicle sticks
Ingredients
- 4 cups ripe seedless watermelon chunks, about one half of a small watermelon
- 12 ounces can frozen lemonade concentrate
Instructions
- Place the watermelon chunks and frozen lemonade concentrate in a blender or food processor. Process for 10-20 seconds or until the mixture is smooth. Pour this mixture through a wire mesh strainer to catch any seeds or solids.
- Fill up your molds, leaving about a quarter of an inch of room at the top because the mixture will expand when frozen. Insert the sticks and place the molds on a flat surface in the freezer for at least four hours.


Leave a Reply