This easy, no-bake, velvety Chocolate Mousse Cake is for you if you love all things chocolate like me and baking really isn’t your thing!
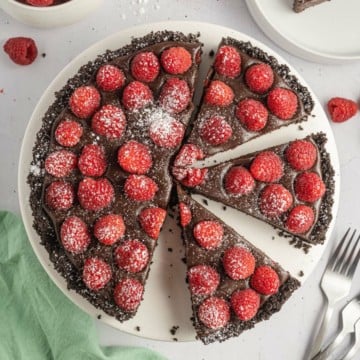
This simple decadent cake is full of dreamy, whipped chocolate mousse made with heavy cream, semisweet, and dark chocolate chips with a crunchy Oreo crust. Like my Chocolate Raspberry Tart, it epitomes chocolatey deliciousness.

Jump to:
Reasons I love this recipe and you will too:
- Simple pantry ingredients, and you don’t have to bake this silky mousse dessert.
- It’s so easy to make that your kids or a beginner cook will look like a kitchen superstar.
- This quick chocolate mousse cake recipe is versatile. It makes the perfect dessert for a casual weeknight dinner, a neighborhood BBQ, a potluck, a special occasion, or even a fancy dinner party.
Ingredient notes:

- Heavy whipping cream – when whipped, becomes thick and velvety. It adds a luxurious creaminess to the mousse, creating a light and airy texture. Half-and-half and whipping cream are not suitable substitutes.
- Semi-sweet and dark chocolate chips – are like little hidden treasures, and when melted, infuse the mousse with a rich, intense chocolate flavor.
- Vanilla extract and sea salt – enhance the rich flavors of the heavy cream and chocolate.
- Butter – acts as a binding agent, holding the crushed Oreo crumbs together.
- Oreo cookies – when crushed, contribute a rich, chocolatey flavor to the crust.
Complete measurements are in the recipe card below.
How to make Chocolate Mousse Cake:
- Pour the cream into a large saucepan and warm over medium heat. Once warm, add the milk chocolate chips, dark chocolate chips, sea salt, and vanilla. Continue to stir until ingredients are fully blended and melted together.

- Transfer the chocolate mixture to a bowl, cover with saran wrap, and place in the refrigerator for about an hour (or until the mixture is chilled).
- Line the bottom of an 8-inch springform pan with a round of parchment paper. Lightly grease the parchment paper with a small amount of softened butter or oil. Set aside.
- Add melted butter and oreos to a food processor. Blend until oreos become a fine crumble. You should be able to press a small amount between your fingers and have it stick together.

- Press the Oreo mixture into the bottom of the prepared pan. Firmly press down the mixture to create a solid crust. Set aside.

- Once the chocolate mixture is chilled, pour it into a bowl of a standing mixer. With the whisk attachment, blend on medium-high until the chocolate becomes nice and thick. When ready, the mixture will be able to hold its shape. Don’t over-whip this.

- Carefully spoon the chocolate mousse on top of the Oreo mixture. Spread it out evenly with a rubber spatula or offset spatula.

- Cover the pan with foil and refrigerate for at least 4 hours before slicing and serving.
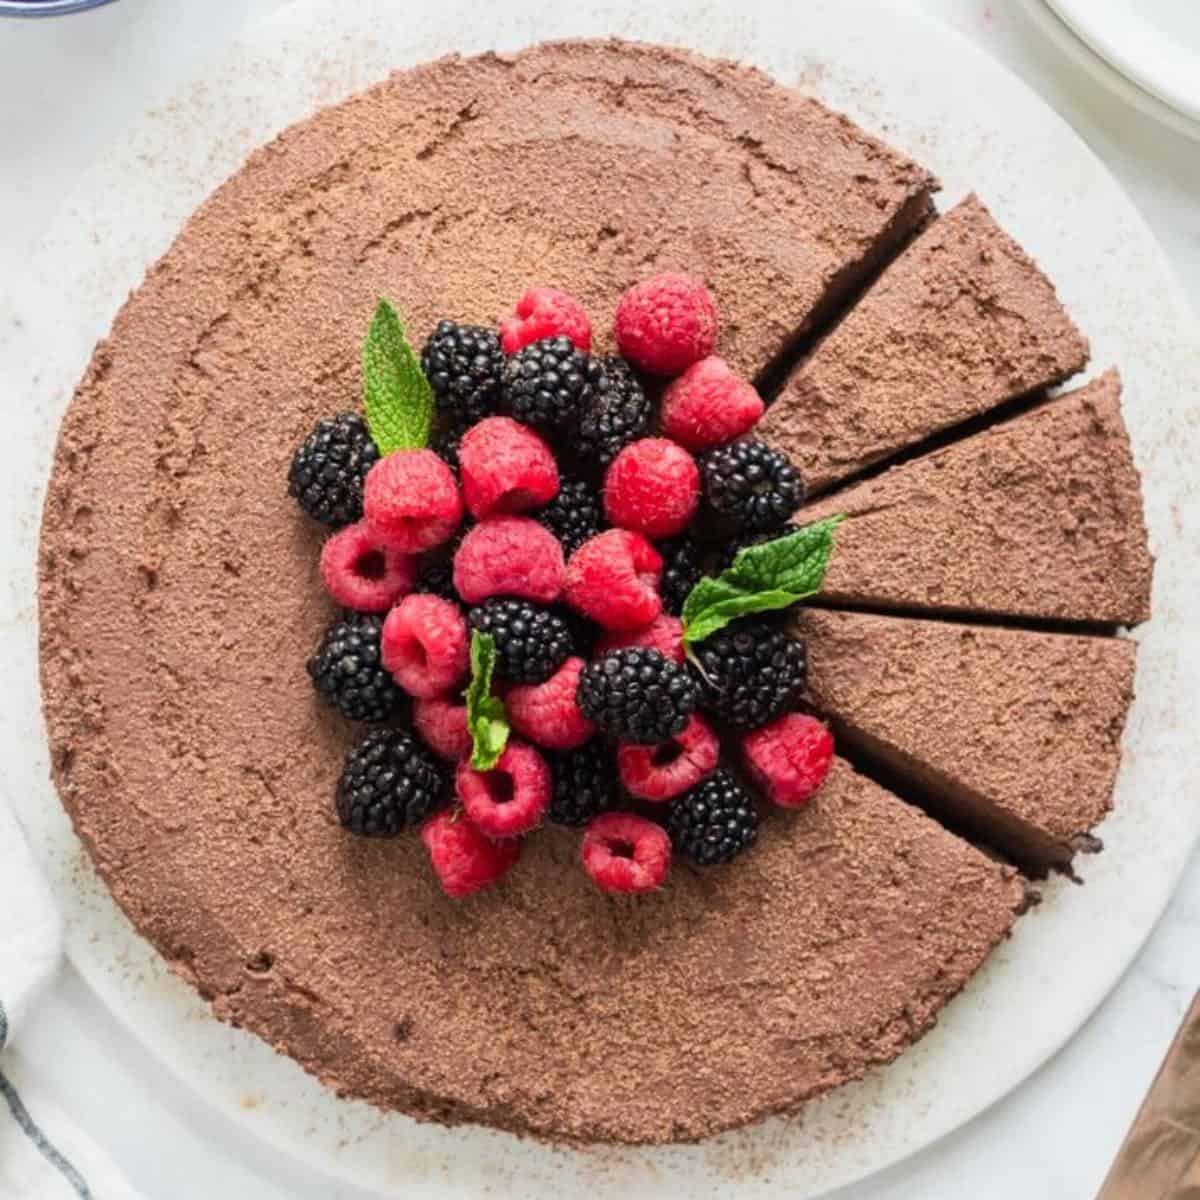
Serving suggestions:
Chocolate mousse cake is incredibly decadent and satisfying all on its own. Try sprinkling cocoa powder on top to take it to the next level. You can also top it with fresh raspberries, strawberries, and/or blackberries, and as an added garnish, add a dollop of whipped cream.
Because this chocolate mousse is so rich, I usually serve it with a light seafood entree such as Lemon Pepper Salmon, Mediterranean Grouper, or Pan-Seared Snapper.
Recipe variations:
- You can try different combinations of dark and semi-sweet chocolate chips. If you prefer a rich, dark taste, use more dark chocolate or swap out milk chocolate instead of semi-sweet if you like a milder taste. Keep the chocolate combinations in equal proportions as listed in the recipe.
- Another swap you can try is changing out the oreo crust, if you don’t have oreos or don’t like them, try replacing with graham crackers, or maybe even some gingersnaps.
How to store:
If your cake has the berry topping, remove it and store it separately. Leftover cake can be stored in an airtight container in the refrigerator for up to 3 days.
Recipe FAQs:
For the best results, I don’t recommend using low-fat substitutes or yogurt instead of heavy cream. The best way to reduce calories in this rich dessert is portion control. Smaller portions will still allow you to satisfy your chocolate craving without overindulging.
For the best results, make the mousse cake up to 24 hours ahead, cover it, and refrigerate it. If you are going to add the berry topping, wait until just before serving.
Top Tip:
You can use a springform pan larger or smaller than 8 inches. Just know that your cake will be thinner or thicker depending on the size of the pan.
⭐ ⭐ ⭐⭐⭐ If you make this dish, please leave a comment and give this recipe a star rating. I would love to know how you liked it!
Thank you so much for visiting Grits and Pinecones; I hope you come back soon.
📋 Recipe:
Want to Save This Recipe?
Enter your email & I’ll send it to your inbox. Plus, get great new recipes from me every week!
By submitting this form, you consent to receive emails from Grits and Pinecones.
Chocolate Mousse Cake Recipe (No-Bake)
Equipment
- 8-inch springform pan
Ingredients
Crust:
- 20 oreos
- 5 tablespoons butter melted
Mousse:
- 2 ½ cups heavy whipping cream
- 1 ⅓ cups semisweet chocolate chips
- 1 ⅓ cups dark chocolate chips
- 1 ½ teaspoons vanilla
- ⅛ teaspoon sea salt
Instructions
- Pour the cream into a large saucepan and warm over medium heat. Once warm, add the milk chocolate chips, dark chocolate chips, sea salt, and vanilla. Continue to stir until ingredients are fully blended and melted together.
- Transfer the chocolate mixture to a bowl, cover with saran wrap, and place in the refrigerator for about an hour (or until the mixture is chilled).
- Line the bottom of an 8-inch springform pan with a round of parchment paper. Lightly grease the parchment paper with a small amount of softened butter or oil. Set aside.
- Add melted butter and Oreos to a food processor. Blend until the Oreos become a fine crumble. You should be able to press a small amount between your fingers and have it stick together.
- Press the Oreo mixture into the bottom of the prepared pan. Firmly press down the mixture to create a solid crust. Set aside.
- Once the chocolate mixture is chilled, pour it into a bowl of a standing mixer. With the whisk attachment, blend on medium-high until the chocolate becomes nice and thick. When ready, the mixture will be able to hold its shape. Don’t over-whip this.
- Carefully spoon the chocolate mousse on top of the Oreo mixture. Spread it out evenly with a rubber spatula or offset spatula.
- Cover the pan with foil and refrigerate for at least 5 hours before serving.









Ryland Rigsby
Delicious!