
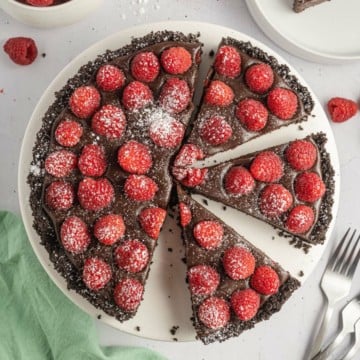
My easy, no-bake Chocolate Raspberry Tart is the ultimate dessert for the chocolate lovers in your life.
The decadently rich chocolate ganache filling, made with semi-sweet chocolate, is truffle-like in its consistency and delivers intense chocolate flavor with each bite.
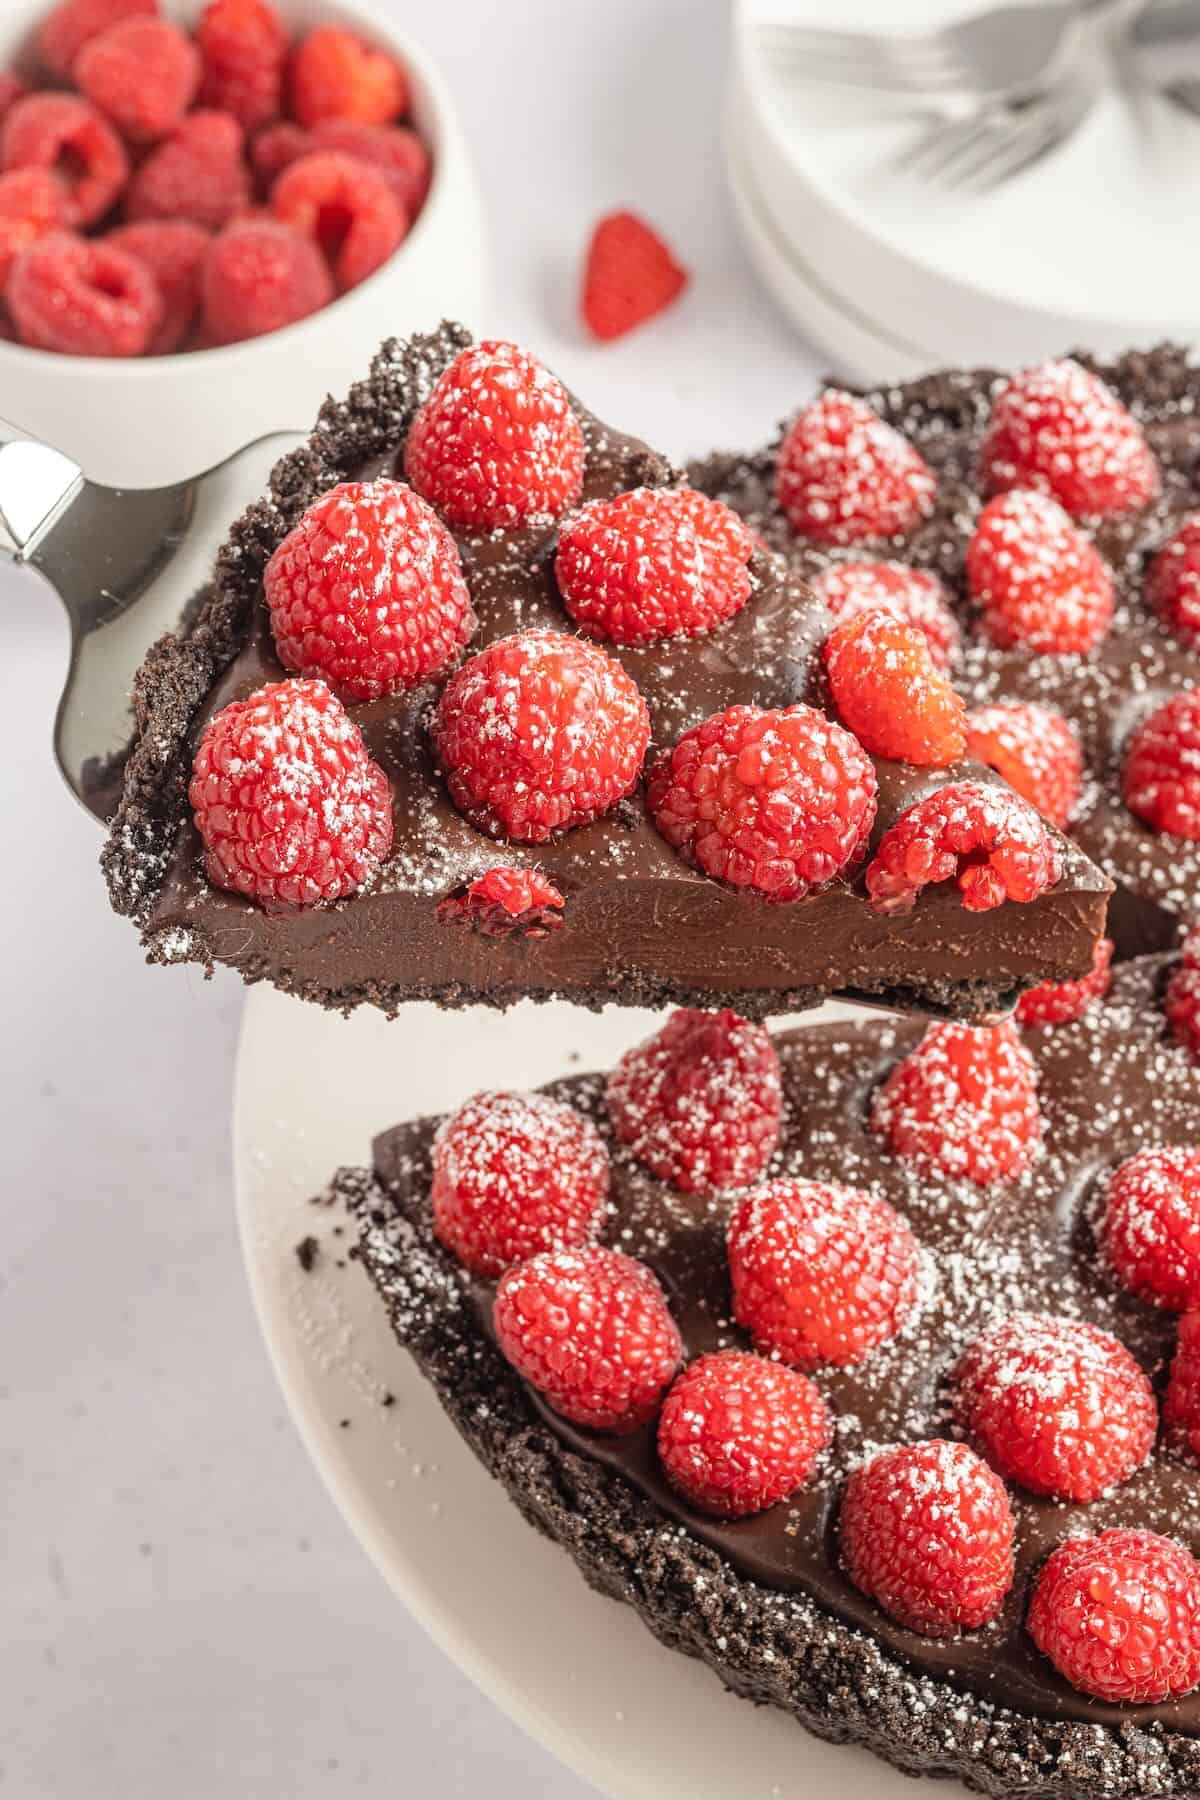
Piled high on a luscious Oreo cookie crust, this show-stopping chocolate raspberry dessert is impossible to resist.
Like my Honey Cheesecake, this chocolate raspberry tart makes the perfect Valentine’s Day dessert and is also great for serving at holiday dinners, special occasions, and just because.
A gorgeous dessert with plump, juicy raspberries, this restaurant-quality, no-bake dessert is super easy to make and perfect for showing the special people in your life how much you care.
Jump to:
Ingredient notes and substitutions:
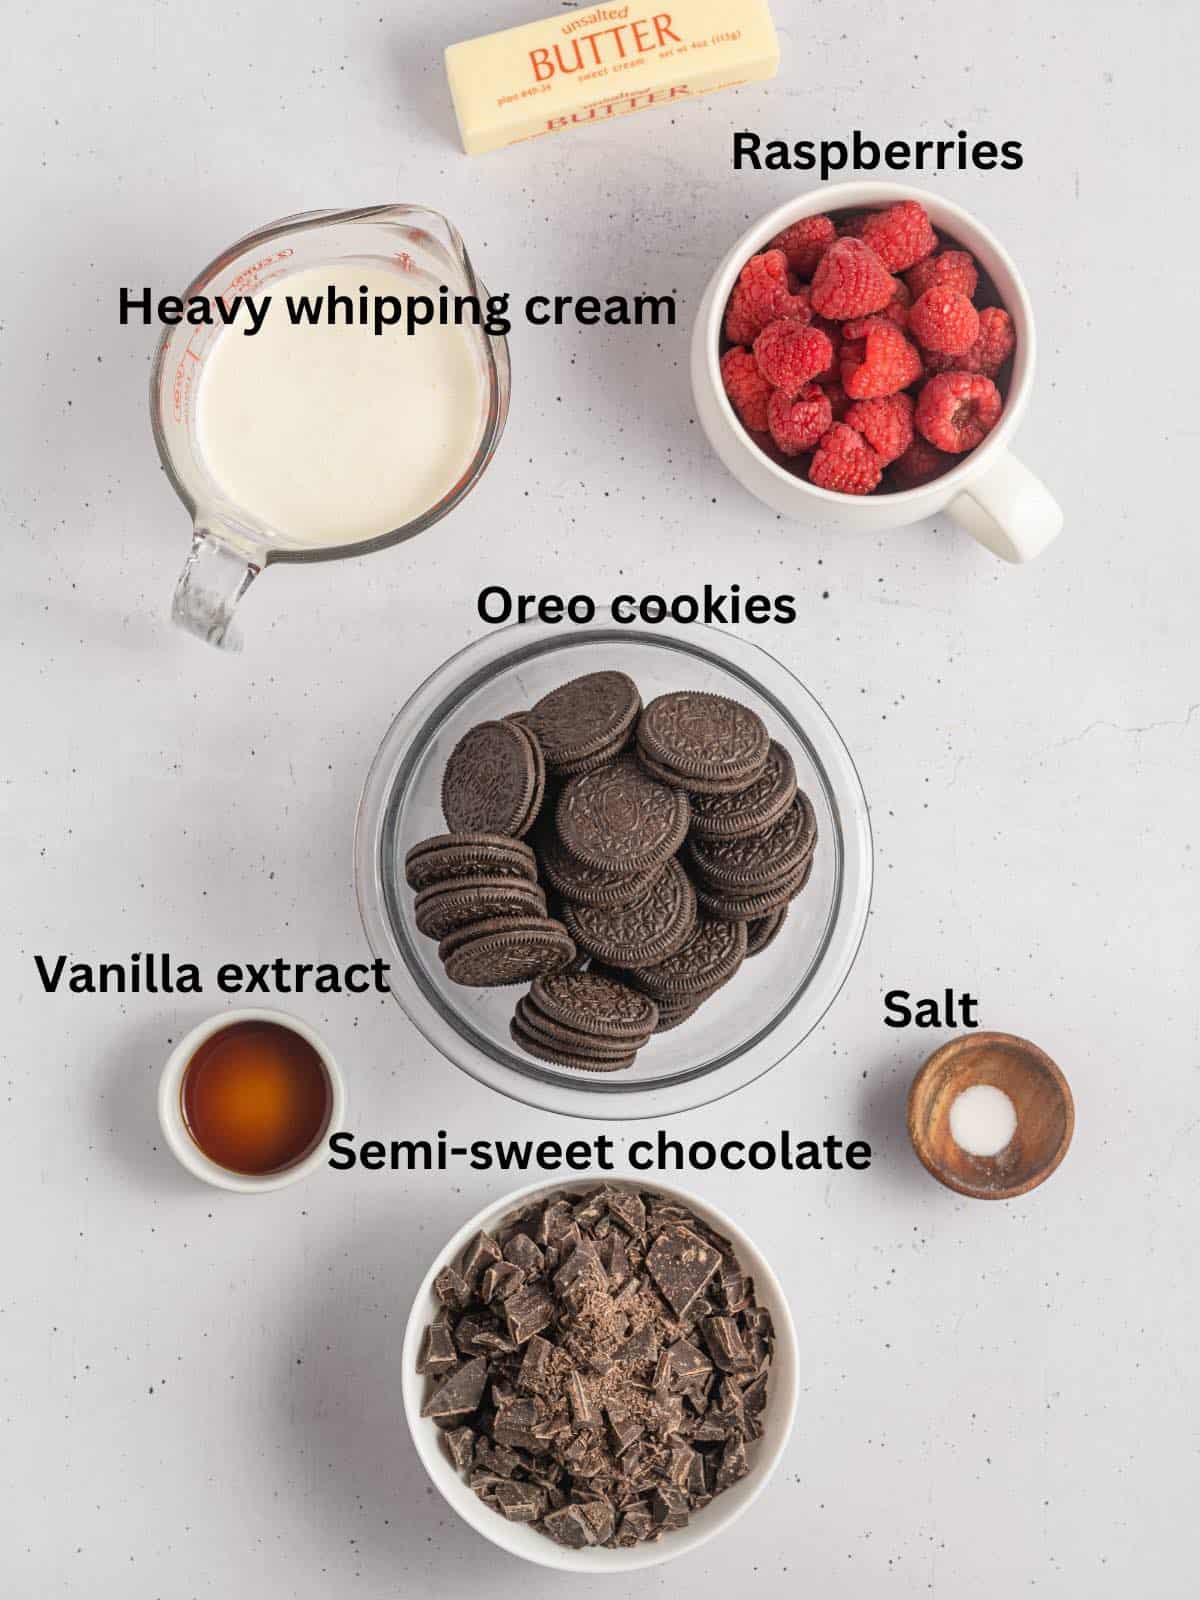
- Semi-sweet chocolate: Because it’s such an important ingredient. Use the highest quality semi-sweet chocolate baking bar you can find. Baking bars are formulated to melt quickly and smoothly and chips do not melt as well.
- Heavy whipping cream: Is essential for a smooth, rich ganache. This is not the time to save calories and substitute half-and-half, whole milk, or skim milk.
- Oreo cookies: Use original Oreo cookies with the filling. Don’t use the double-stuf or mega-stuf variety.
- Powdered sugar: (Not pictured) Adds even more glamor to an already beautiful dessert.
- Unsalted butter: Brings the delicious crunchy Oreo tart crust together and adds even more richness to the ganache. If you use regular salted butter, omit the salt called for in the recipe.
- Vanilla extract and salt: Enhance all of the flavors in the ganache.
- Fresh raspberries: Plus chocolate, equals a match made in heaven.
(Specific measurements can be found in the recipe below.)
How to make a chocolate raspberry tart with step-by-step instructions:
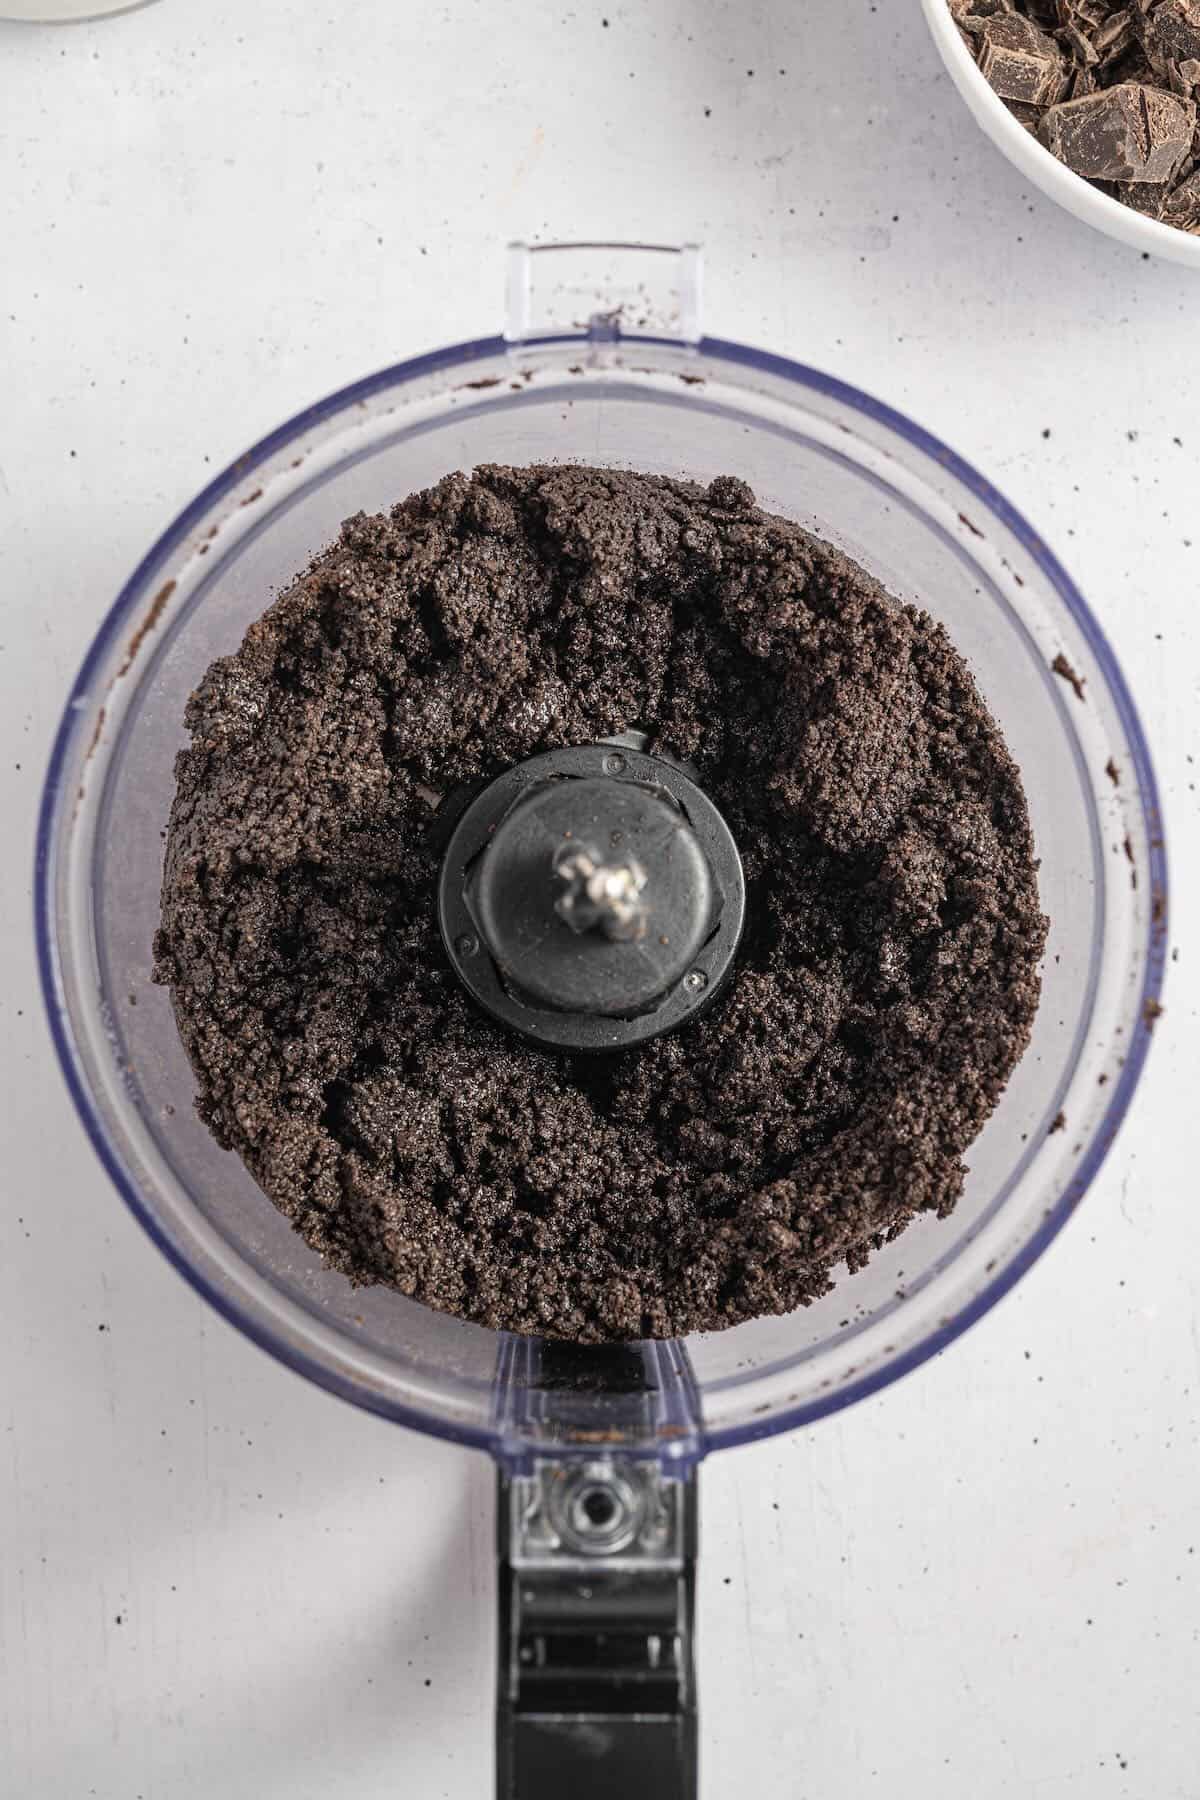
- Grease a 9-inch tart pan with a removable base with butter or shortening and set it aside. Place the Oreos in a food processor and blend them until they become fine crumbs. Gradually pour in the melted butter while running the processor at low speed until the crumbs are evenly coated.
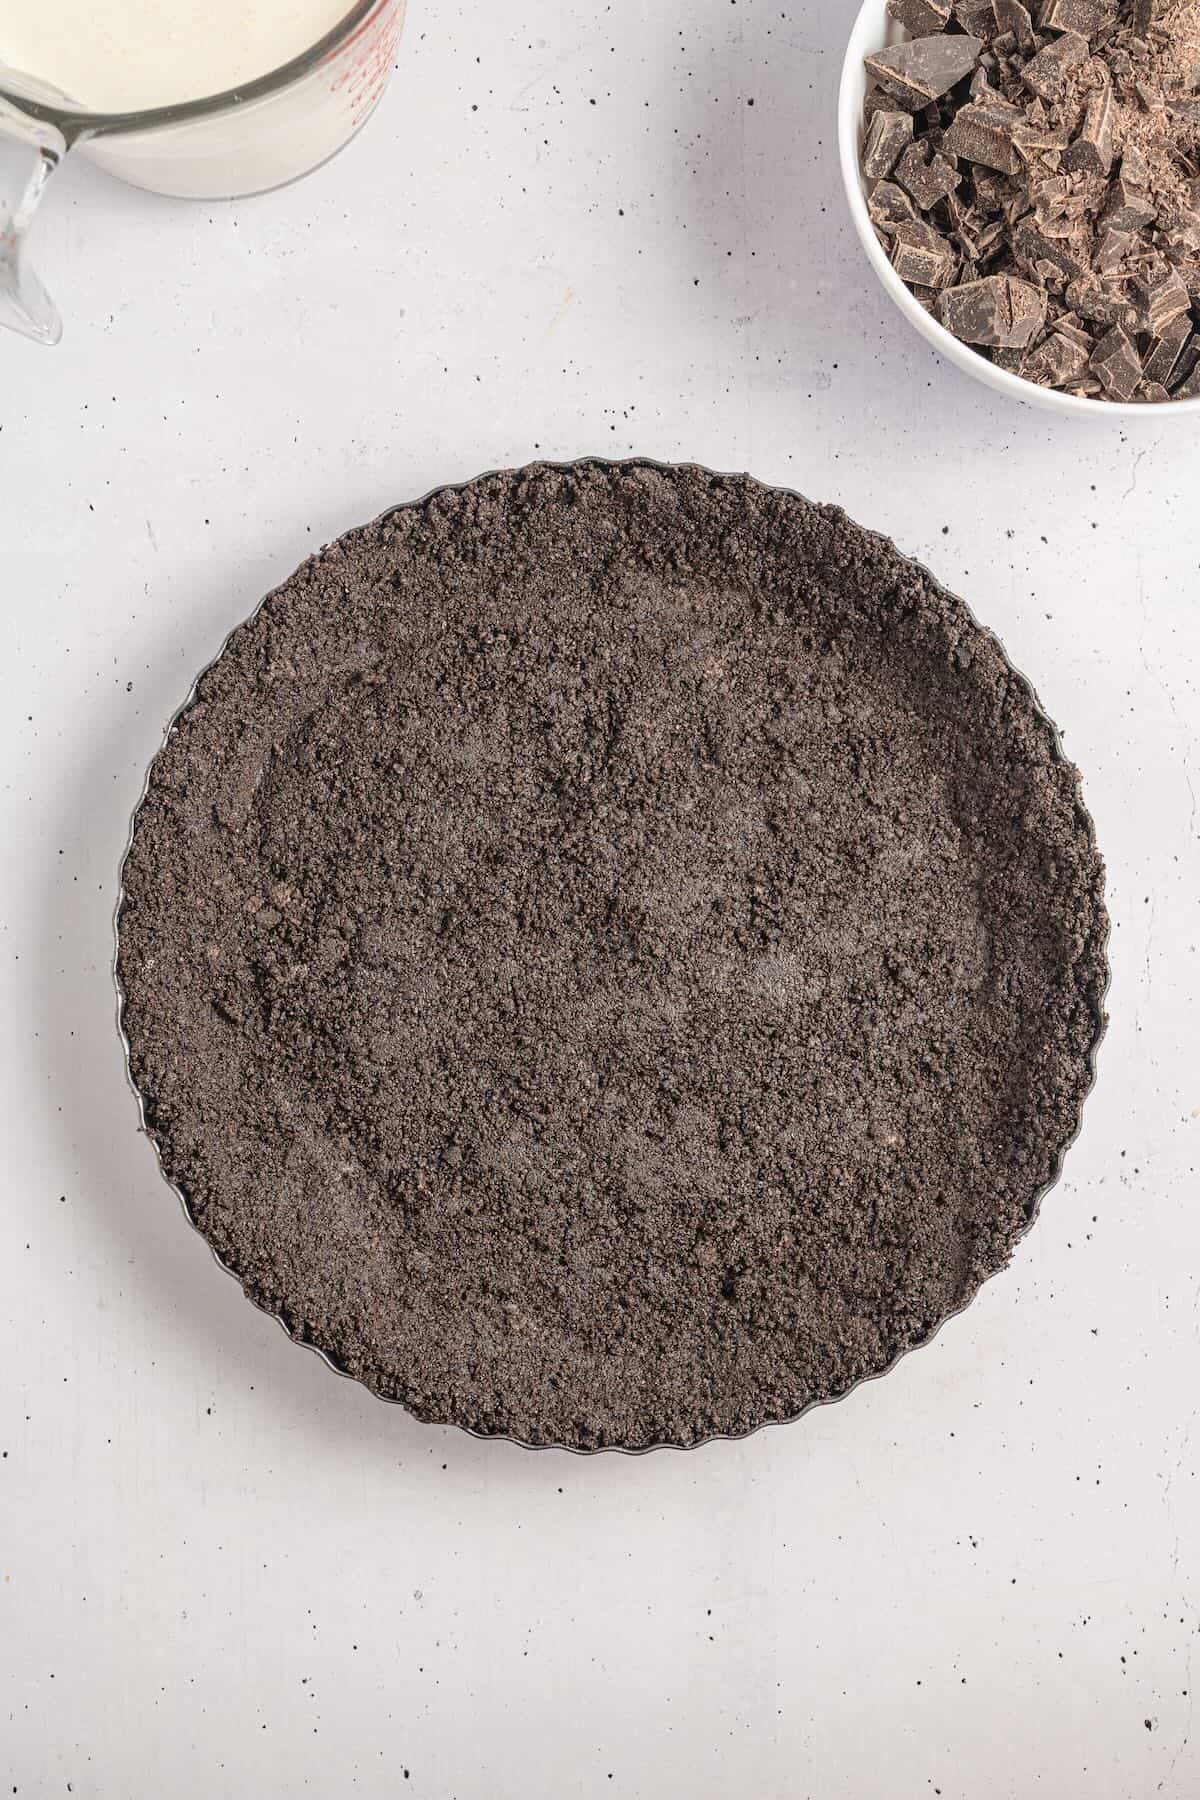
- Use the flat bottom of a glass to press the crumbs into the tart pan and up the sides to ensure they are tightly packed so the crust doesn't fall apart when you slice it. Then, freeze the crust for at least 15 minutes.
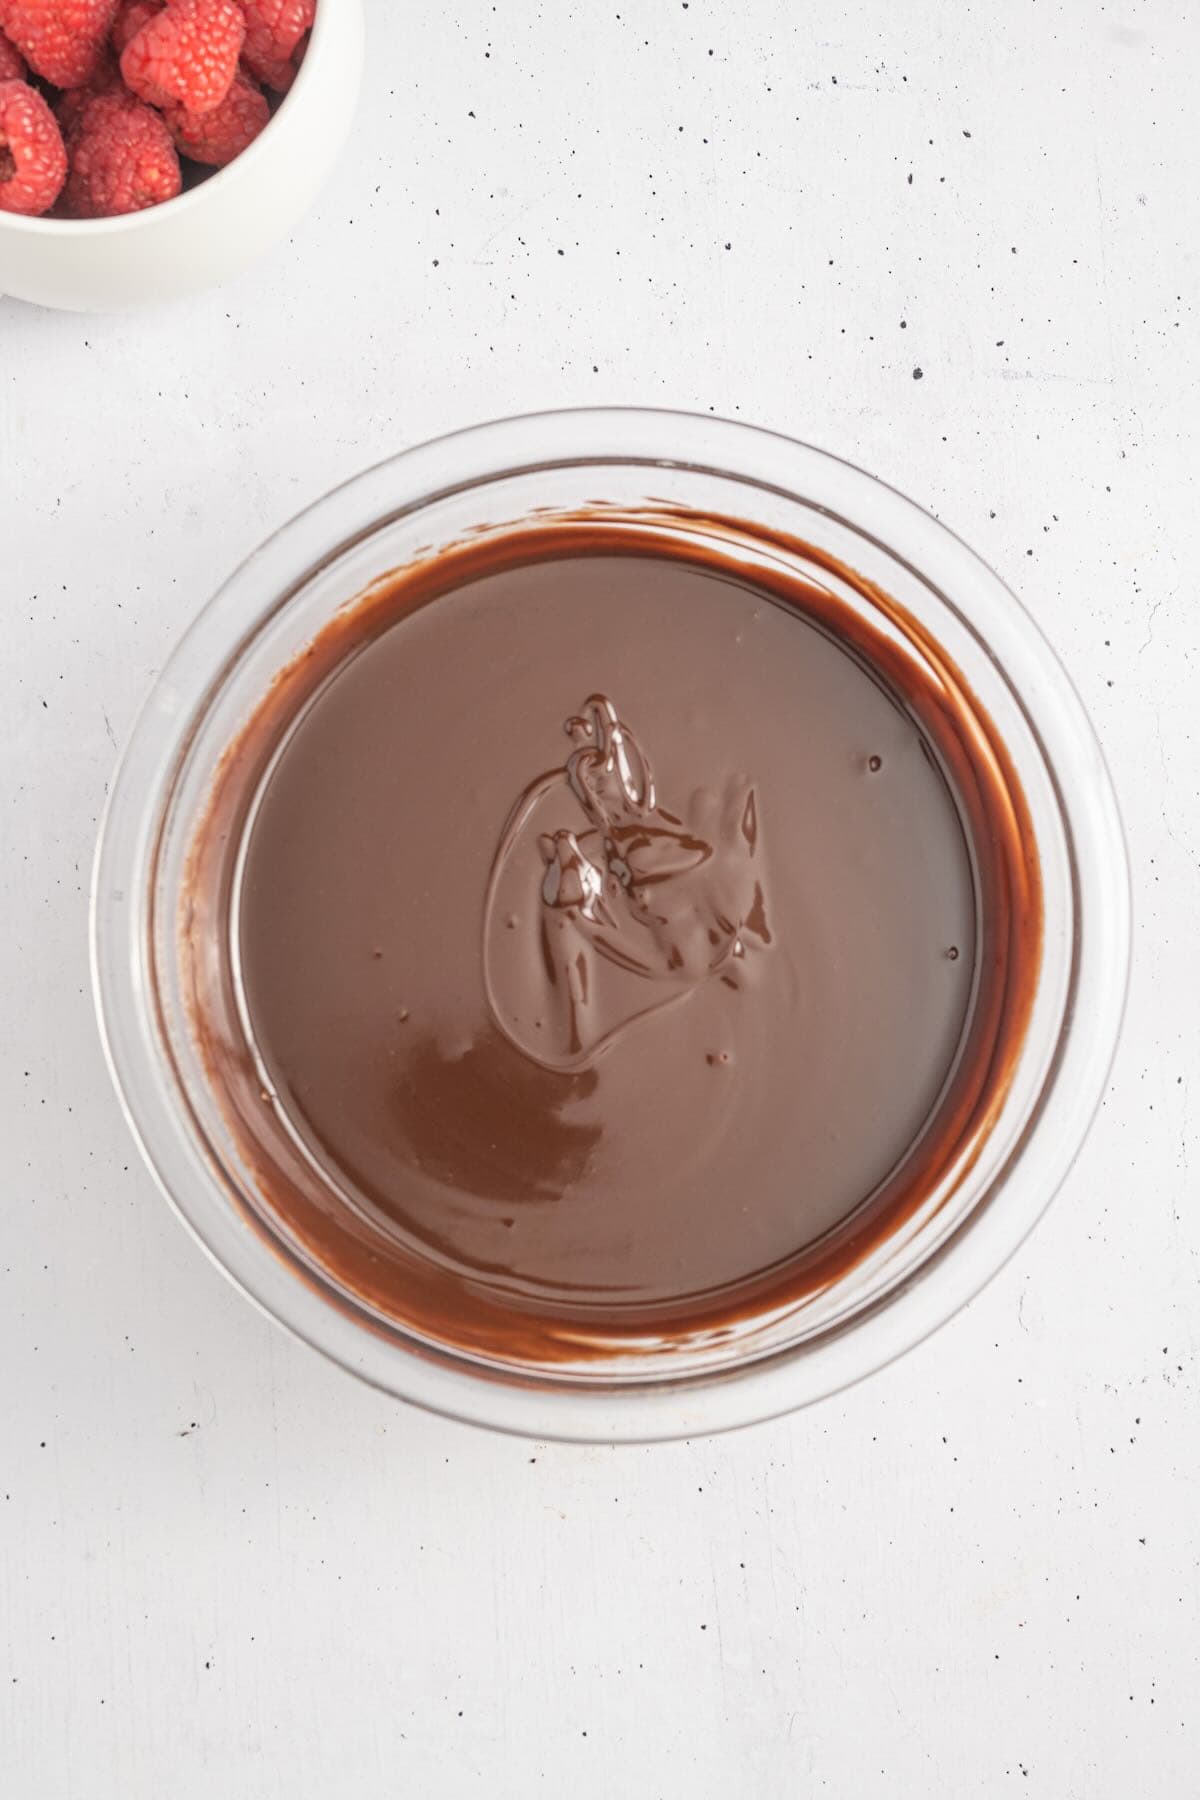
- While the crust is freezing, place the chopped chocolate in a medium heat-proof bowl. To heat the cream, pour the heavy whipping cream into a small saucepan and place it over medium heat until it starts to simmer around the edge of the pan. Do not let it boil. Pour the cream over the chocolate, add the butter, vanilla, and salt, and let the mixture rest for 3 minutes to melt the chocolate.

- Stir the mixture until you have smooth chocolate ganache with no lumps. Let the ganache rest for 10 minutes or until it is lukewarm.
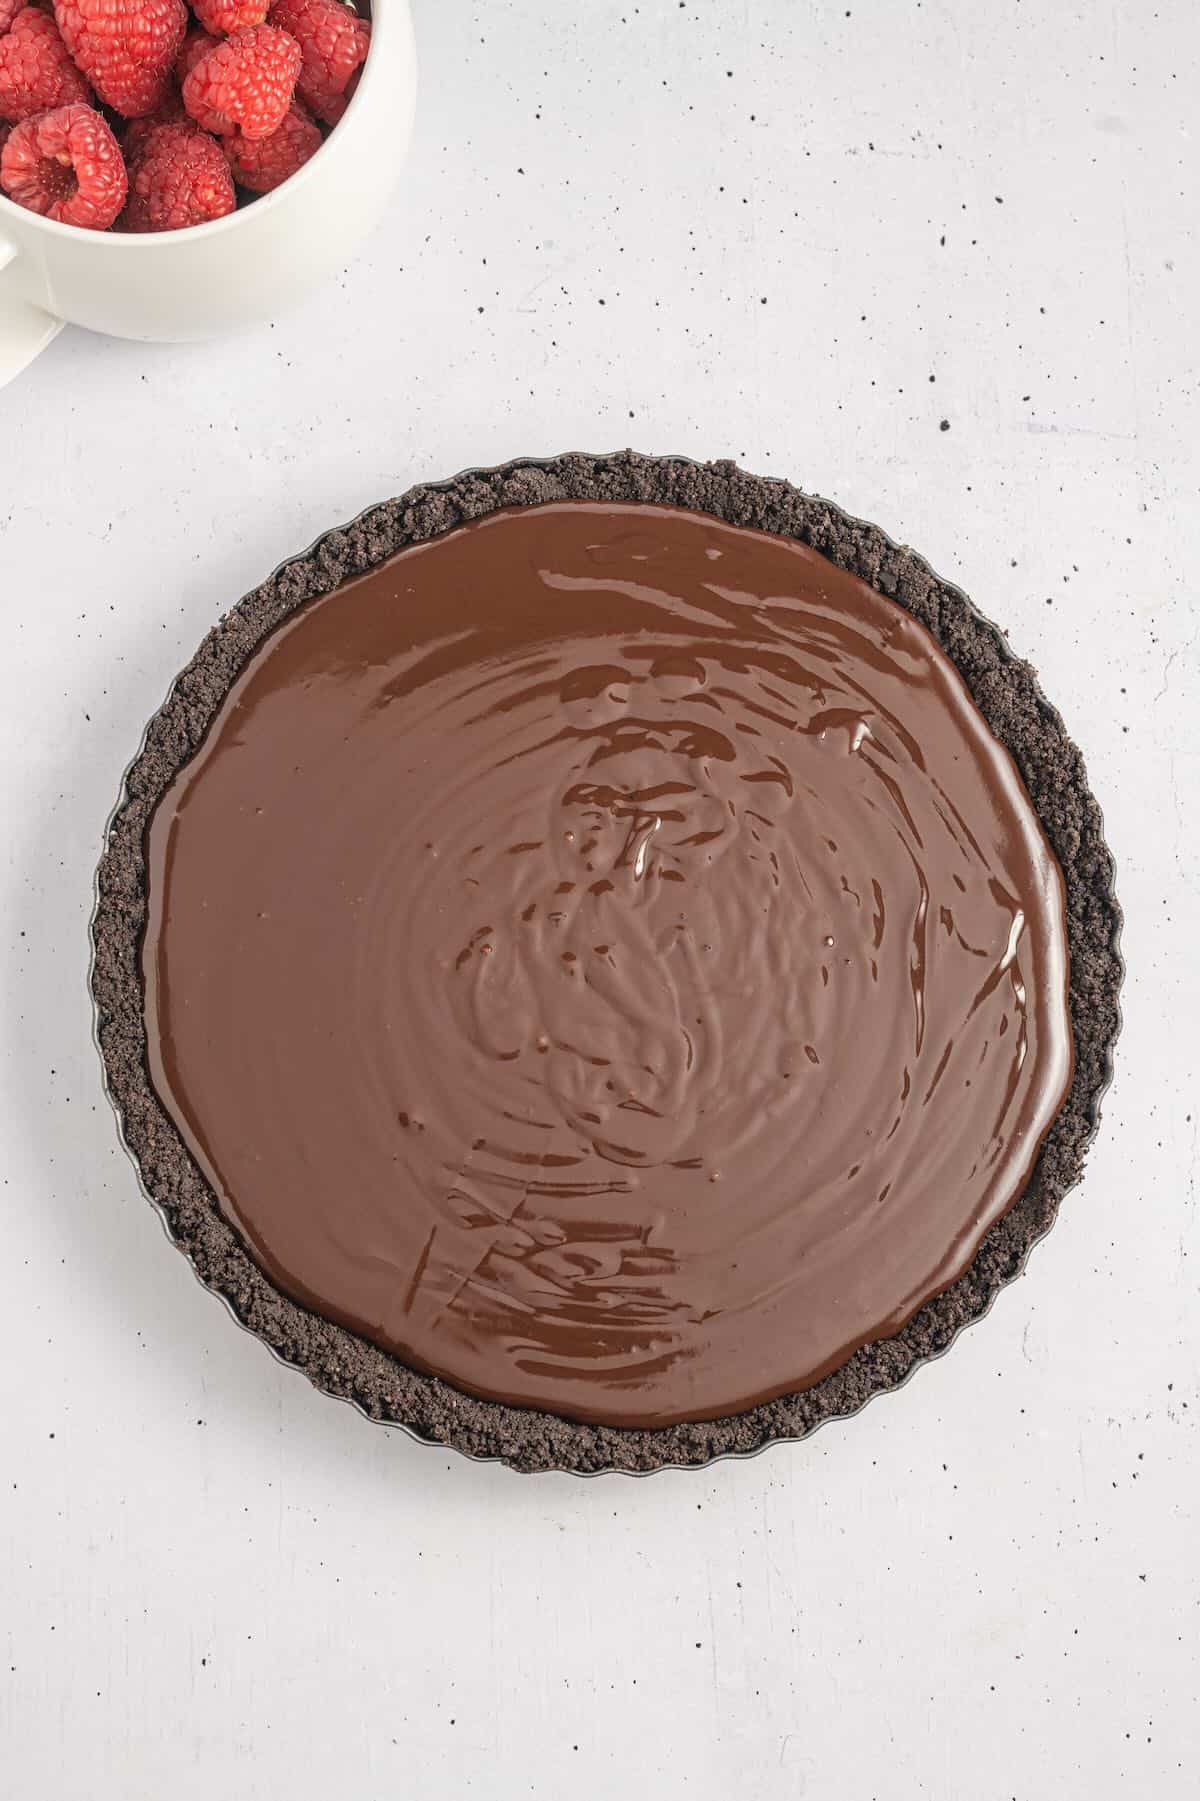
- To assemble, pour the ganache into the crust and smooth out.
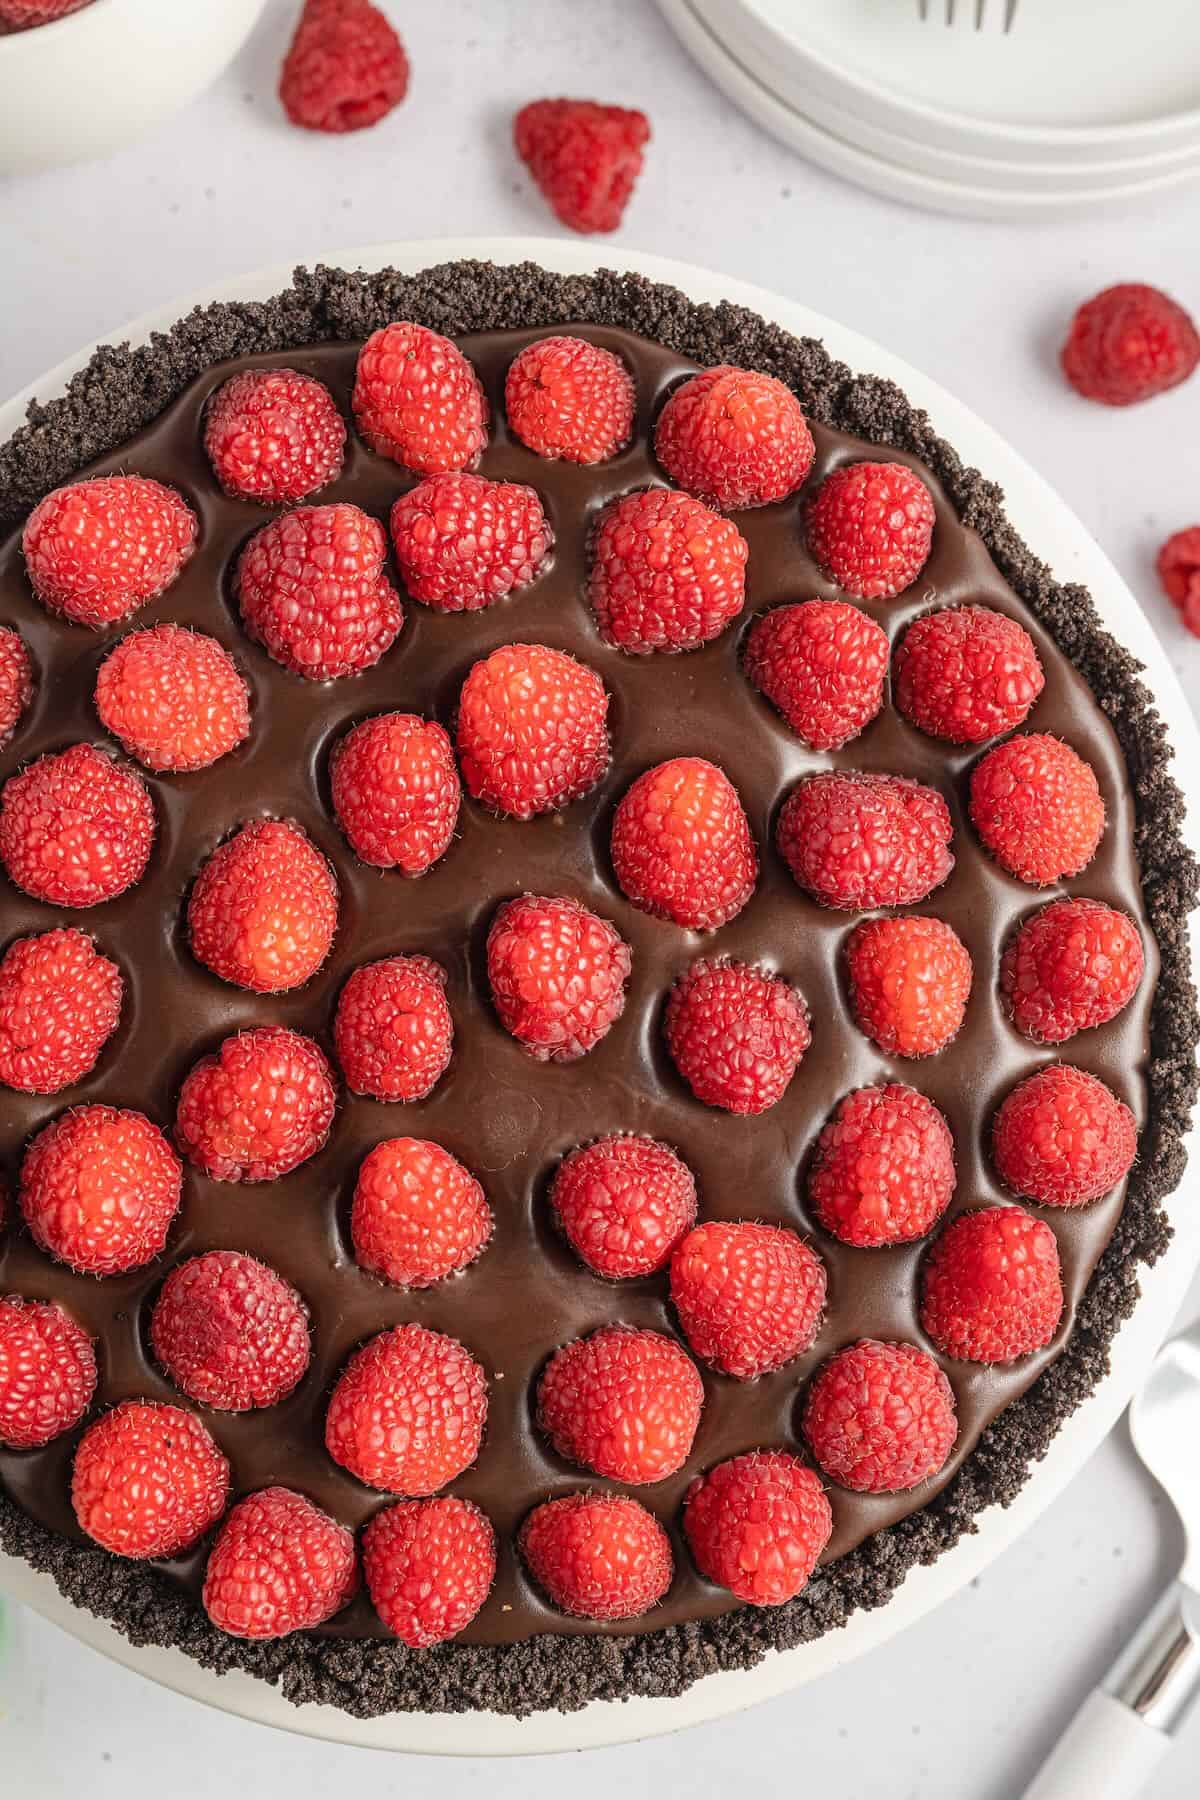
- Arrange the raspberries on top of the smooth chocolate ganache. Place the tart in the refrigerator uncovered for at least 3 hours. Carefully remove the tart from the pan. (see tips in the Recipe FAQs)
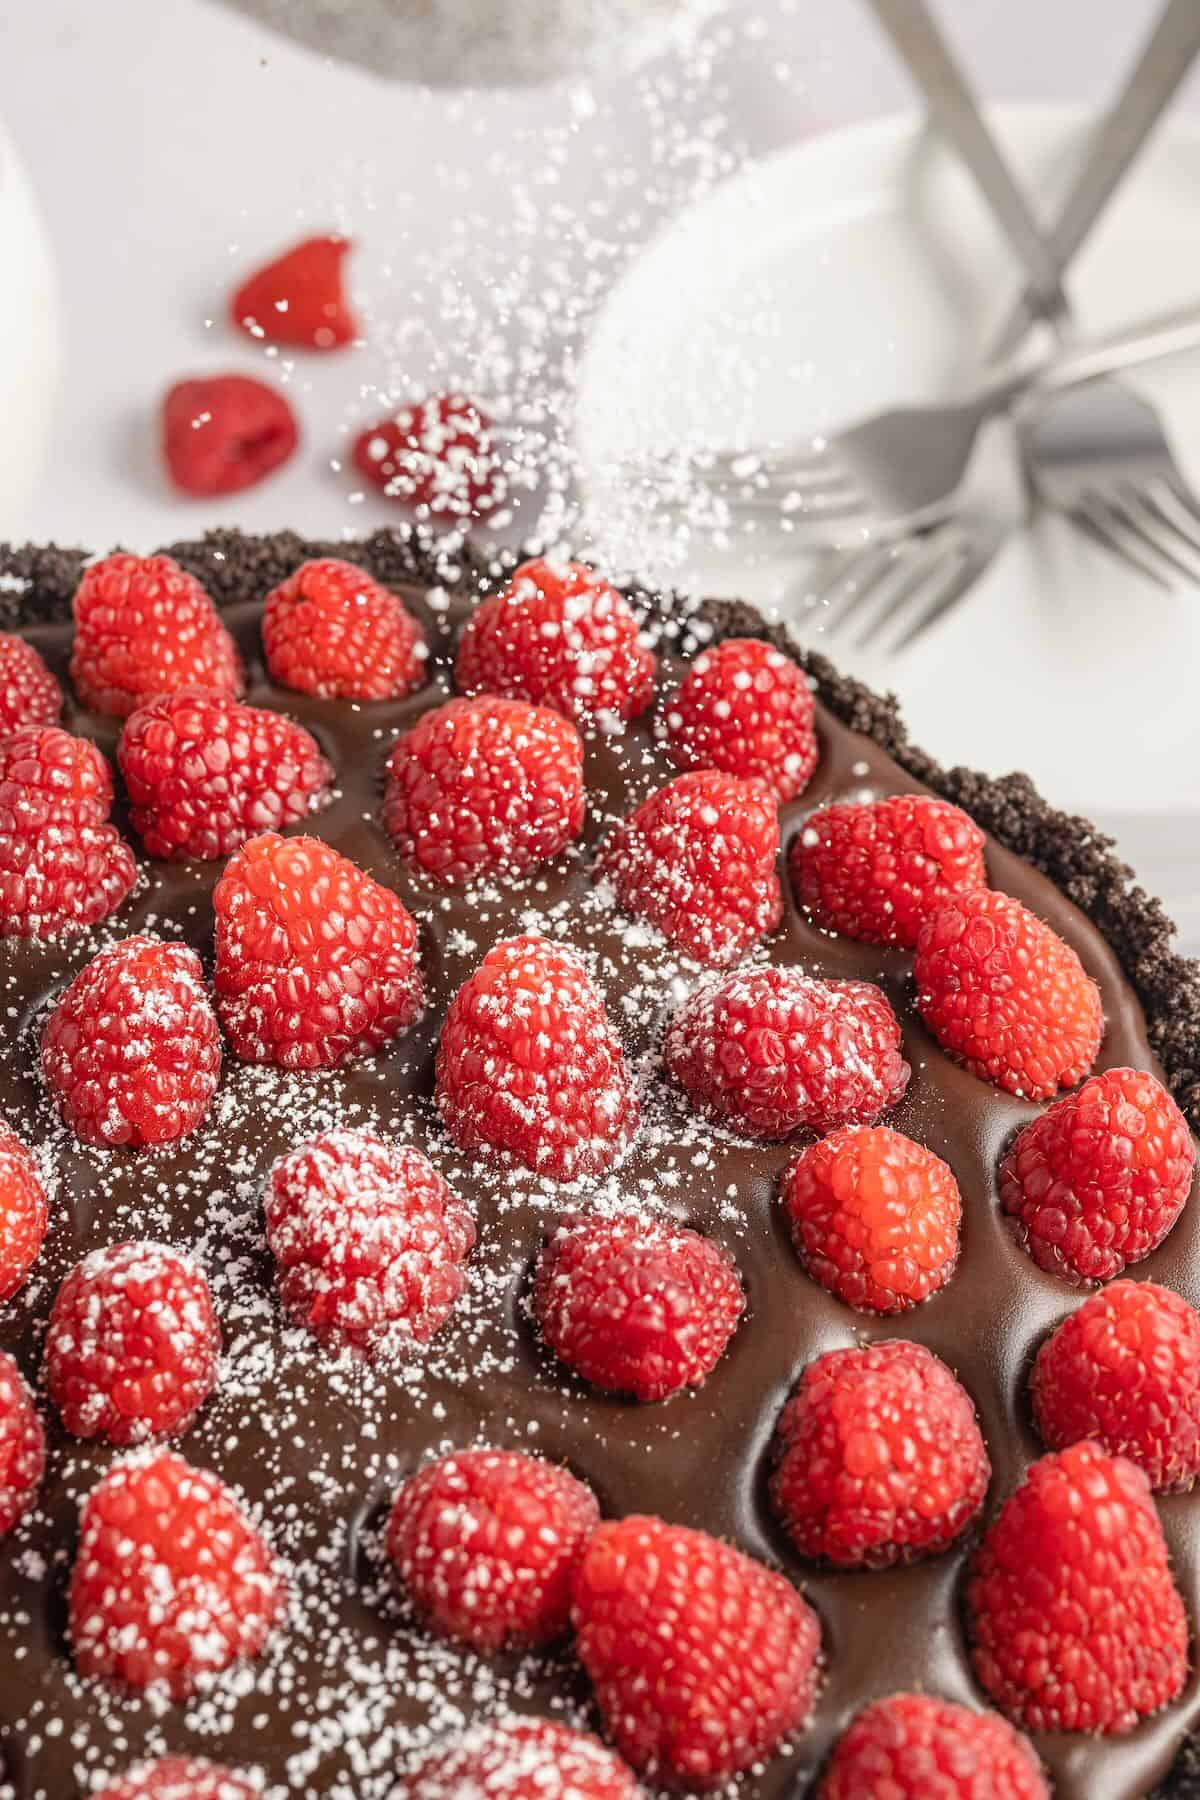
- Put the powdered sugar in a fine sieve, and dust the top of the tart. Serve chilled.
Recipe variations:
The crust recipe for this chocolate raspberry tart is versatile; you can substitute practically any cookie you like or have on hand for the Oreos.
Chocolate wafer cookies, shortbread cookies, vanilla wafers, and even Biscoff cookies all work. You can also use a regular pie crust but must blind-bake it before adding the ganache, or you can use a graham cracker crust if you choose.
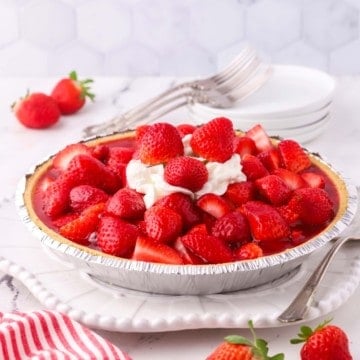
Instead of raspberries, you can substitute strawberries. You can also spread a thin layer of raspberry preserves over the crust before you add the ganache.
Serving suggestions:
This no-bake Chocolate Raspberry Tart is a rich and decadent dessert perfect for a special occasion such as Valentine’s Day, a dinner party, an anniversary, Christmas, a romantic dinner, or a birthday celebration.
Entrees that would pair well with it include:
How to store this dessert:
Because of the cream, your chocolate raspberry tart must be refrigerated. You can store it covered with plastic wrap in the refrigerator for up to one week.
You can also freeze it without the raspberries in an airtight container for up to one month. Thaw it in the refrigerator overnight before serving.
Recipe FAQs:
Ganache is a smooth, luxurious mixture of melted chocolate and heavy cream. It is very rich and is most often used to make truffles or as a filling or glaze for cakes and other desserts.
While you can use any of these pans for this recipe, the finished product will look different and have to be served differently.
A tart pan is a shallow metal pan with sharp fluted edges and a removable bottom. The removable bottom allows you to remove the rim before sliding the tart off the disk base and onto a serving plate.
A pie plate or a pie pan, often made of Pyrex, is a round, shallow, slope-sided, one-piece dish with a flat rim to hold the edge of a pie crust. They generally are deeper than a regular tart pan. If you make your tart in a pie pan, you will have to leave it in the pan and slice it while still in the pan.
A springform pan is a type of metal cake pan with straight deep sides made in two parts. It has a base and a removable ring that serves as the side of the pan.
Springform pans are most often used for baking cheesecakes, but you could also use them for baking your tart. After the tart has been refrigerated and firmed up, you can remove the sides just like the tart pan.
Handling a full tart pan is tricky, that’s why I always recommend you keep your tart pan on a baking sheet.
Because of the removable bottom, you can’t hold them by the bottom like you would with a cake pan or pie plate. If you try to hold it by the bottom, the removable bottom will likely come loose.
When you are ready to remove your tart, gently place the pan centered on top of a sturdy can or small bowl and then carefully slide the ring off the tart and down the stand.
Because there is always a chance your tart will break up when you try to remove it from the base, I recommend leaving the tart on the base. But, if you prefer, you can try to slide it off of the tart base and onto a plate.
Top tips and tricks:
- For the best results, do not use chocolate chips in this recipe. They are often coated with stabilizers to help keep their shape and will not melt as smoothly.
- Most tarts of this size are cut into eight servings. This tart is so rich it can easily serve twelve adults.
- Be sure to heat your cream in a saucepan on the stove instead of microwaving it. The cream doesn’t heat as evenly, and it’s easy to scorch and burn. Above all, do not let your cream boil.
- Warm your knife under hot running water for the cleanest cut, then dry it off before cutting a slice of the tart.
- Ensure the bowl in which you mix the chocolate and cream is either glass or metal and thoroughly dry. Water and chocolate do not mix; if the bowl is wet, it could cause your chocolate to seize.
- Handling a full tart pan is tricky. Because the bottom is removable, you can’t hold them by the bottom like you would with a cake pan or pie plate. It will likely come loose if you try to hold it by the bottom. Put your pan on a baking sheet before trying to move it.
- You can make this recipe in a springform pan or a pie plate if you don’t have a tart pan. See the FAQ for the differences in each.
More chocolate desserts:
If you like this tart recipe, I know you will love these quick and easy favorites:

You might also like my Chocolate Peppermint Whoopie Pies, and Dark Chocolate Billionaire Candy.
If you need more dessert menu ideas or suggestions, you may also like my collections of Romantic Desserts for Valentine’s Day, Thanksgiving Desserts, and Christmas Dessert Recipes.
⭐ ⭐ ⭐⭐⭐ If you make this dish, please leave a comment and give this recipe a star rating. I would love to know how you liked it!
Thank you so much for visiting Grits and Pinecones; I hope you come back soon!
Recipe:
Want to Save This Recipe?
Enter your email & I’ll send it to your inbox. Plus, get great new recipes from me every week!
By submitting this form, you consent to receive emails from Grits and Pinecones.
Easy Chocolate Raspberry Tart Recipe (No-Bake)
Equipment
- 9-inch tart pan with removable bottom
Ingredients
Crust
- 6 tablespoons unsalted butter, melted
- 26 original Oreo cookies, with the filling, don't use double-stuf or mega-stuf
Ganache
- 12 ounces semi-sweet chocolate baking bars
- 2 tablespoons unsalted butter, If you use salted butter, omit the salt called for in the recipe.
- 1⅓ cups heavy whipping cream
- 1 teaspoon vanilla extract
- ¼ teaspoon salt
Topping
- 12 ounces fresh raspberries
- ½ cup powdered sugar
Instructions
- Grease a 9-inch tart pan with a removable base with butter or shortening and set it aside. Place the Oreos in a food processor and blend them until they become fine crumbs. Gradually pour the melted butter while running the processor at low speed until the crumbs are evenly coated.
- Use the flat bottom of a glass to press the crumbs into the tart pan and up the sides to ensure they are tightly packed so the crust doesn't fall apart when you slice it. Then, freeze the crust for at least 15 minutes.
- While the crust is freezing, place the chopped chocolate in a medium heat-proof bowl. To heat the cream, pour the heavy whipping cream into a small saucepan and place it over medium heat until it starts to simmer around the edge of the pan. Do not let it boil. Pour the cream over the chocolate, add the butter, vanilla, and salt, and let the mixture rest for 3 minutes to melt the chocolate.
- Stir the mixture until you have smooth chocolate ganache with no lumps. Let the ganache rest for 10 minutes or until it is lukewarm.
- To assemble, pour the ganache into the crust and smooth out.
- Arrange the raspberries on top of the smooth chocolate ganache. Place the tart in the refrigerator uncovered for at least 3 hours.
- Put the powdered sugar in a fine sieve and lightly dust the top of the tart. Carefully remove the tart from the pan. (see tips in the Recipe FAQs) and serve chilled.


Chris
What size is your tart pan?
Sharon Rigsby
Hi Chris, I’m sorry it took me so long to get back to you. I hope I’m not too late. I use a 9.5-inch tart pan for this recipe, but anything from 9 inches to 10 inches will work.
I hope you enjoy it!
Sharon
Kathi B
We are attending a Couple’s Night event for Valentine’s Day w/a few friends and I am looking forward to making this recipe for my dessert obligation! It looks amazing and coupled with the fact that my husband loves a chocolate/rasberry combination, this is sure to be a hit all-around (and most importantly for him 🙂
Sharon Rigsby
Hi Kathi, I hope you enjoy it as much as we do! Happy Valentine’s Day!
All the best,
Sharon
Kathi Boor
This was stupendous! I used a pie dish and vanilla wafers. I am pleased to have yet another “go to” recipe from this blog for gatherings which request a dish of some sort.